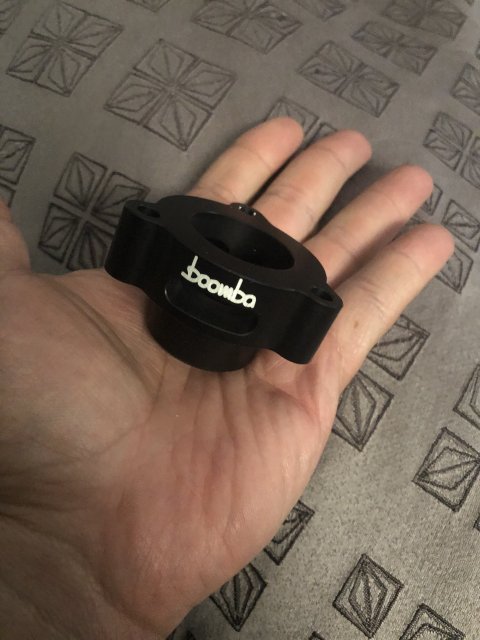
So I just completed the VTA mod tonight. Cost me all of $4 at Lowe’s and I didn’t even use all of the caps. I don’t have a whole lot of pictures as this was a little spur of the moment. But I can be as descriptive as possible. I also haven’t taken it on a test drive, but I did do a rev test.
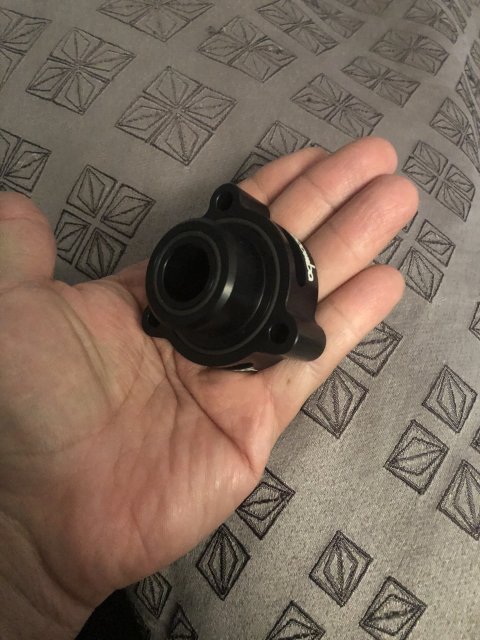
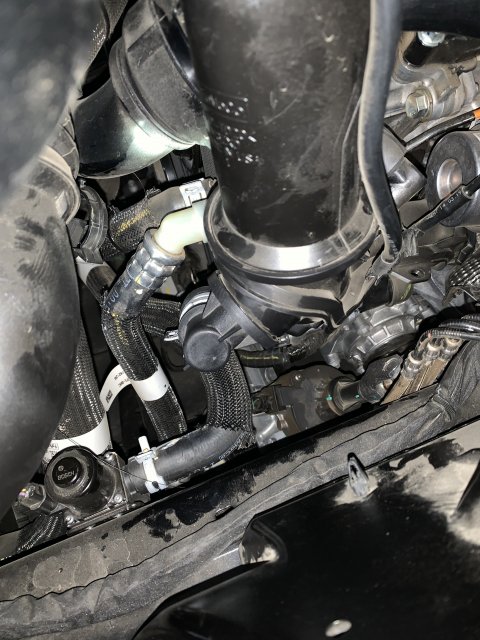
First off the bov is located under the airbox, and where the recirculation tube connects to is on the driver side. Good thing is there is plenty of room on that side.
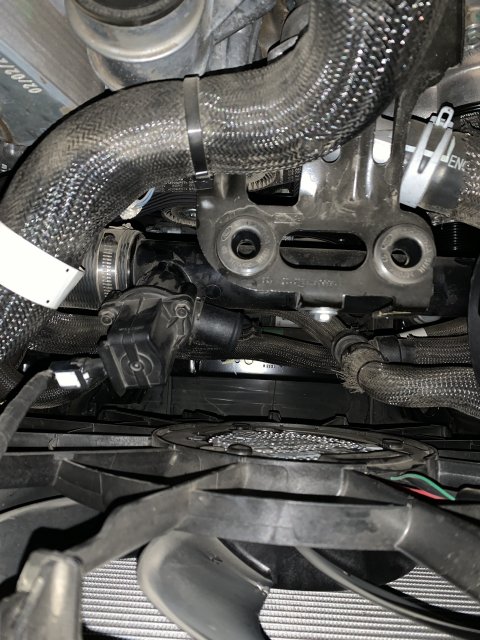
Step 1: remove factory airbox to include upper and lower. The outlet pipes are just a flat head/socket (I used a flathead), and the inlet pipe can be removed by pinching/pushing in 3 tabs and pushing out (again sorry for no pictures but it’ll make sense when you go to do it).
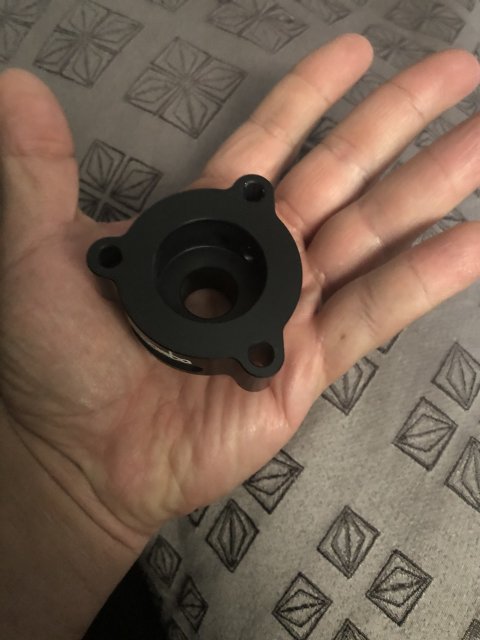
Step 2: at this point you have your access to the BOV. Just remove the clamp, which ever way you feel you’d like, specialized tool or pliers. I just used pliers, squeeze twist and pull.
Step 3: trace the hose to the drivers side (not keen on terminology for the names of the pipes). Remove clamp and hose from this end. I will admit this side was much more difficult.
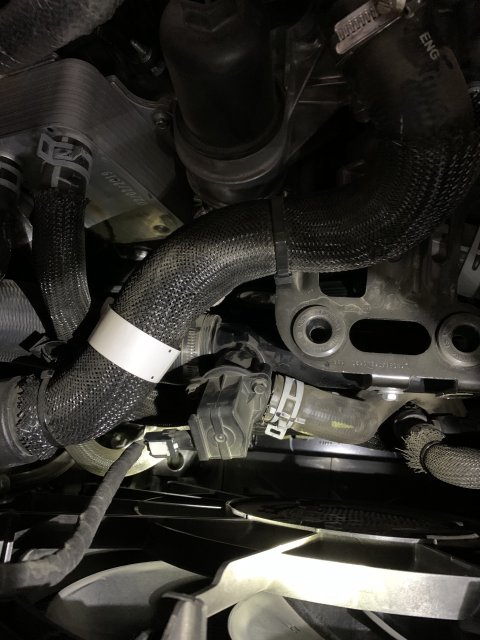
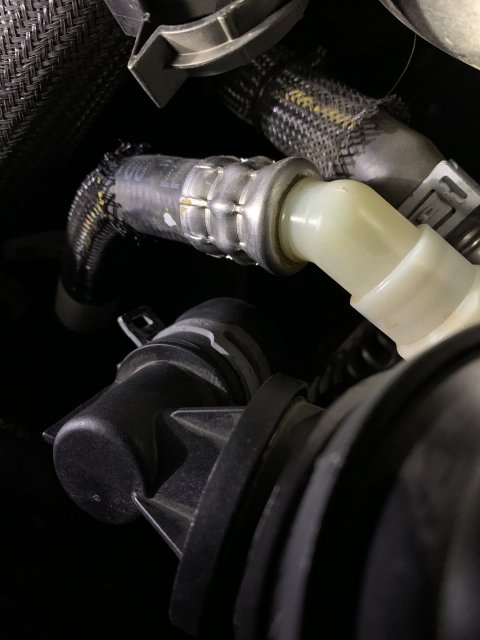
Step 4: once the drivers side connection is removed you can now install the cap and oem clamp. I used a chair leg cap, black, 1 1/8” - 1 1/4”. Perfect fit with the use of the oem clamp as some added securing for that warm and fuzzy. This part was a bit of pain, but with some patience, and motivation it can be done.
You’re now complete, and just reassemble.
If anyone has any questions, or wants further and more in depth pictures feel free to ask.
Also, if the video doesn’t upload I’m sorry.
Update, when you click on the video, click download not view. View didn’t work, but it worked on download. At least on my iPhone.
First off the bov is located under the airbox, and where the recirculation tube connects to is on the driver side. Good thing is there is plenty of room on that side.
Step 1: remove factory airbox to include upper and lower. The outlet pipes are just a flat head/socket (I used a flathead), and the inlet pipe can be removed by pinching/pushing in 3 tabs and pushing out (again sorry for no pictures but it’ll make sense when you go to do it).
Step 2: at this point you have your access to the BOV. Just remove the clamp, which ever way you feel you’d like, specialized tool or pliers. I just used pliers, squeeze twist and pull.
Step 3: trace the hose to the drivers side (not keen on terminology for the names of the pipes). Remove clamp and hose from this end. I will admit this side was much more difficult.
Step 4: once the drivers side connection is removed you can now install the cap and oem clamp. I used a chair leg cap, black, 1 1/8” - 1 1/4”. Perfect fit with the use of the oem clamp as some added securing for that warm and fuzzy. This part was a bit of pain, but with some patience, and motivation it can be done.
You’re now complete, and just reassemble.
If anyone has any questions, or wants further and more in depth pictures feel free to ask.
Also, if the video doesn’t upload I’m sorry.
Update, when you click on the video, click download not view. View didn’t work, but it worked on download. At least on my iPhone.
Attachments
-
 1.6 MB Views: 172
 -
 1.4 MB Views: 169
 -
 1.9 MB Views: 170
 -
 1.8 MB Views: 169
 -
839.8 KB Views: 332
-
 4
4
- Show All