• Sign Up! To view all forums and unlock additional cool features

    Welcome to the #1 Explorer ST Forum and Explorer ST community dedicated to Explorer ST owners and enthusiasts. Register for an account, it's free and it's easy, so don't hesitate to join the Explorer ST Forum today!


Install Rear Camera Washer

Messages
299
Reactions
207
Points
37
Location
Kansas
Vehicle
2022 Rapid Red ST
#21
The rear washer was deleted mid 2022.

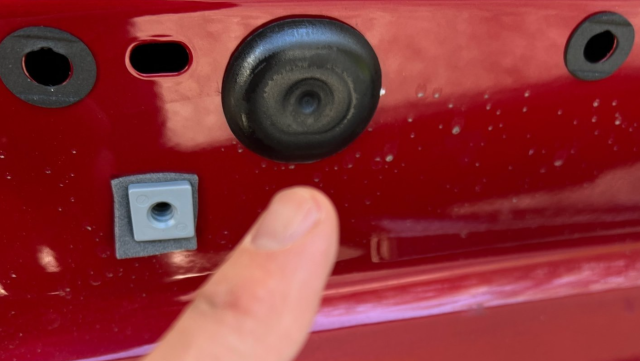
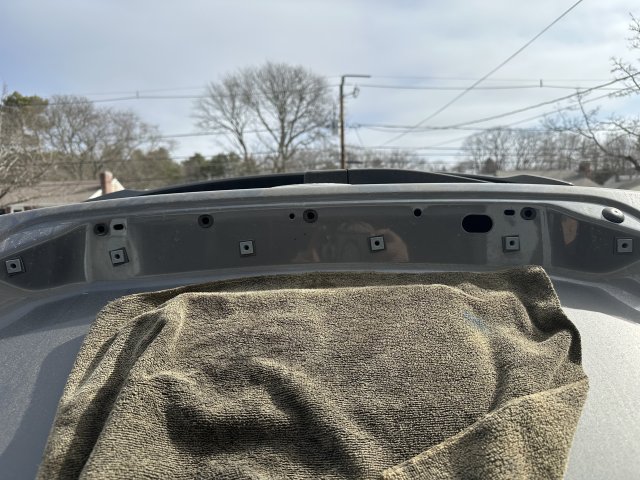
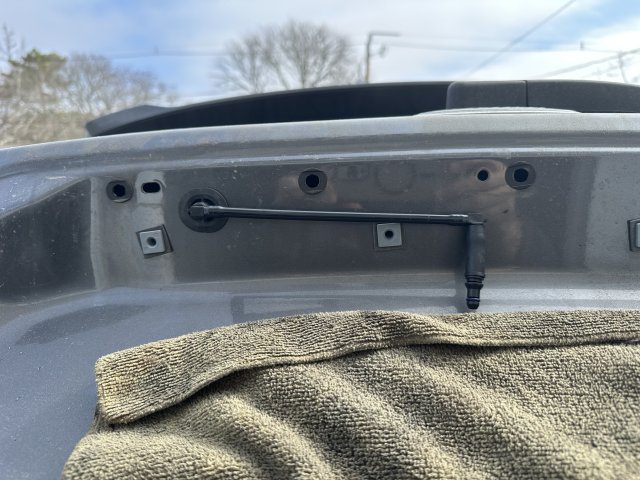
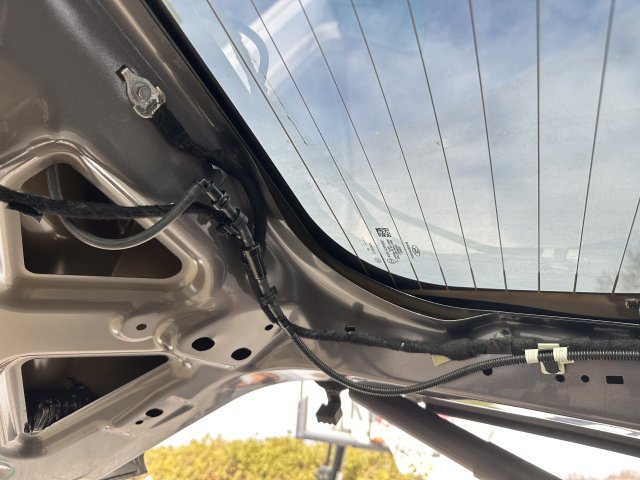
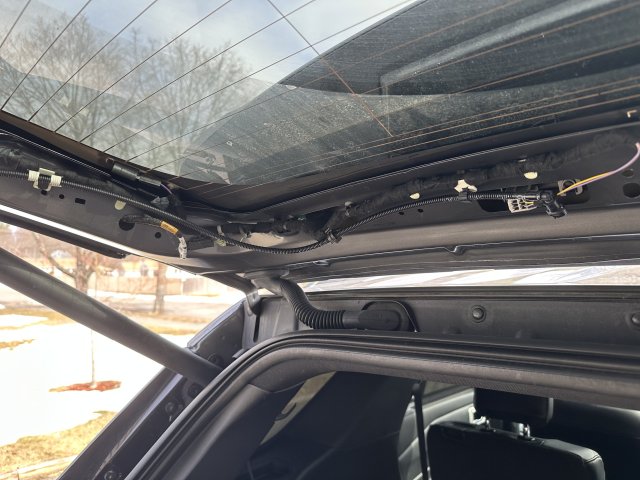
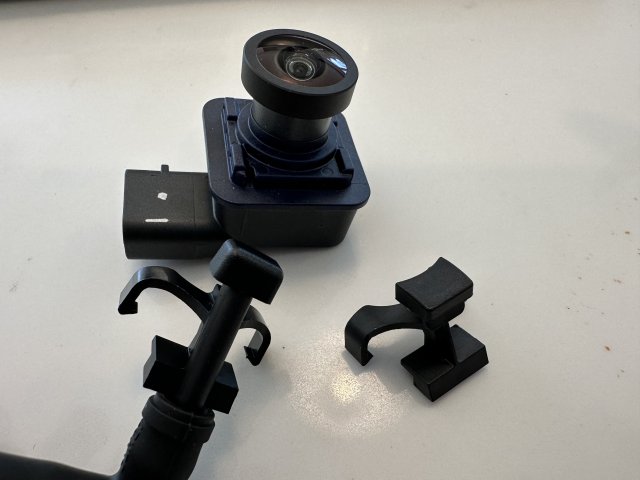
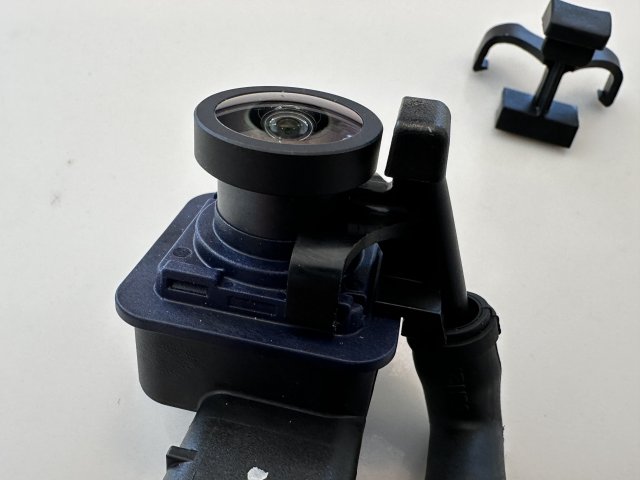
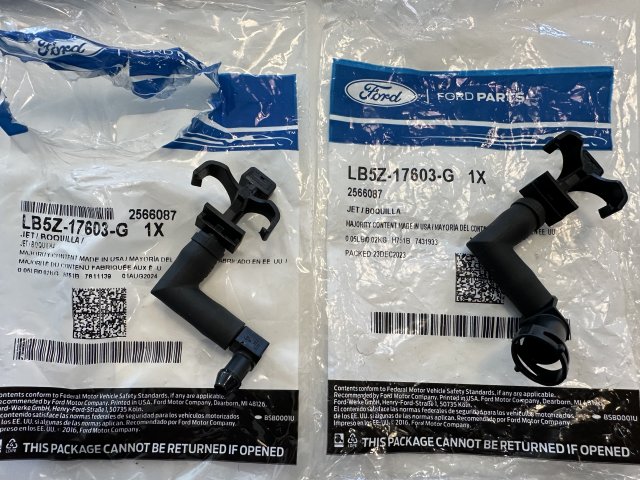
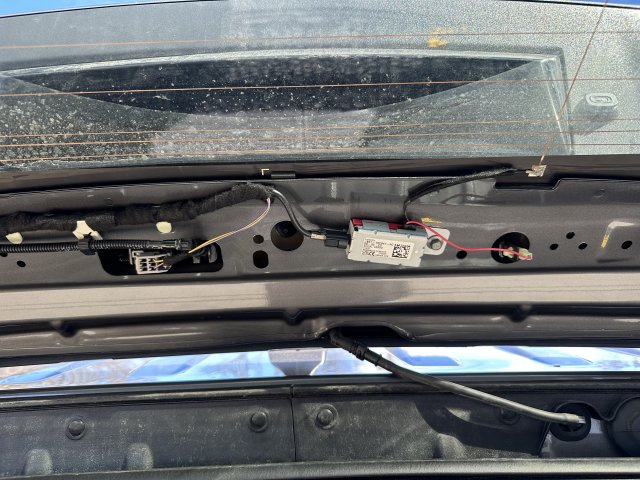
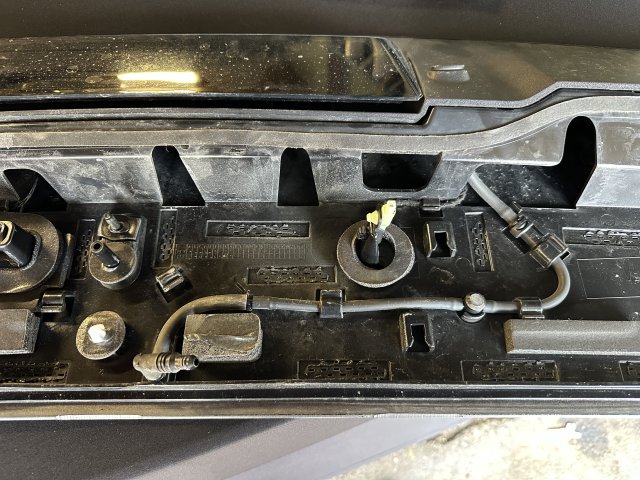
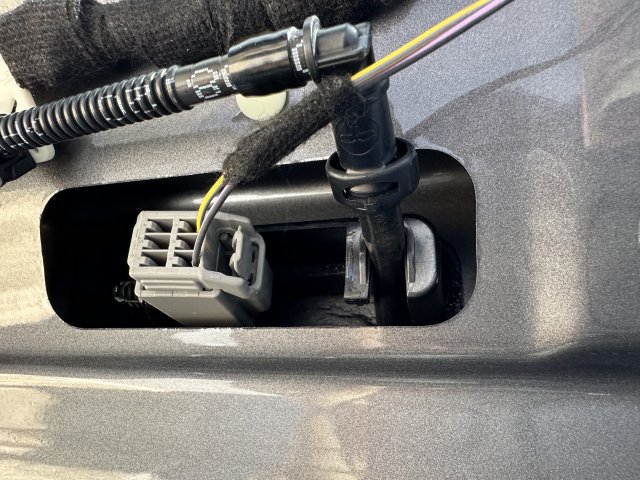
SSM 51225 2022 Explorer/Police Interceptor Utility And 2023 Aviator - Rear Parking Aid Camera Washer Deletion 2022 Police Interceptor Utility (gas engine) and all 2022 Explorer vehicles built on or after 14-Jul-2022, 2022 Police Interceptor Utility (hybrid) vehicles built on or after 17-Aug-2022, 2023 Aviator (gas engine) vehicles built on or after 18-Jul-2022, and 2023 Aviator (hybrid) vehicles built on or after 27-Jul-2022 are not equipped with a rear parking aid camera wash feature. The feature was deleted; however, the rear parking aid camera washer jet may still be present without a hose attached to it. This is normal and no repair attempts should be made.
 

Messages
145
Reactions
69
Points
27
Location
Grimsby, ON, Canada
#23
I have a crazy question. Has anybody tried coating the lenses with something that would help to repel dust and dirt? If someone has and it has helped to keep them clean, what was used?
 

Messages
274
Reactions
136
Points
37
Location
Massachusetts
Vehicle
2023 ST
#24
Finally got around to installing mine. Ran into a bit of a snag.

mine is a late ‘23 and seems to not have the hole/grommet that is specific for the washer fluid line to pass through. I was scratching my head for a few mins wondering how the fluid got through before I realized it’s just not there.

hate to drill through, but looks like that’s my only option.

i was expecting this
1773242768978.png


And instead I have this. The grommet above would be located on the left hand side and is not present on mine.

My camera is different as well from the OP's, but the part the washer nozzle clips onto is the same. Just the electrical connector is completely different
IMG_0307.jpeg
 

Last edited:
Messages
274
Reactions
136
Points
37
Location
Massachusetts
Vehicle
2023 ST
#25
Well, ended up not being a big deal. Carefully estimated where it should be based on above pic and drilled a 1/2" hole. I then used a stepper bit to ream the hole slightly larger and oval it out left and right. Only took a few seconds to do so go slow and check fit often. But grommet went in nice and tight.

But this step took me all of 5 mins. 1/8" pilot hole. 1/2" 2nd hole. Stepper bit maybe down one step, and enlarge left and right slightly. Go slow, start small and test for seal. I wanted the grommet tight.

This is p/n LB5Z-17A605-AC installed

IMG_0309.jpeg


Took a couple more pics to show the routing of part number LB5Z-17A605-W along the liftgate of the 2nd washer fluid tube. All the clips and mounting holes were present so this was plug and play. Decided to save the Y-tube install in the spoiler for a different day.

IMG_0311.jpeg
IMG_0312.jpeg


The camera will have a block off clip mounted on it that is essentially a dummy washer without the hose. The part number for this dummy clip is LB5Z-17603-J just in case anyone needs it. But you will remove this clip and install the new sprayer hose the exact same way. IMG_0364.jpeg IMG_0365.jpeg


Also, double check your parts. I had to order the spray nozzle twice from Ford because despite the right part number, i got the wrong part in the bag. Left one is wrong. Right one is the correct nozzle after ordering it again. I had this all apart and was wondering why my hoses wouldn't connect up. Had to put it back together and order the same part again
IMG_0366.jpeg
 

Last edited:
Messages
274
Reactions
136
Points
37
Location
Massachusetts
Vehicle
2023 ST
#27
If it makes a difference to anyone here, I’d argue that not having the washer setup cost me a camera due to having to wipe the salt off it all winter.


.
IMG_0373.jpeg
 

Last edited:
Messages
274
Reactions
136
Points
37
Location
Massachusetts
Vehicle
2023 ST
#28
Btw, if you break the clips for the rear trim where the camera is, I wasn’t able to find a direct part number for that clip, but did find something similar.

Ford p/n W716352-S300

I bought a pack of cheap Amazon knock-offs which seem to do the trick.
IMG_0442.jpeg
 

Messages
6
Reactions
4
Points
2
Location
Michigan (Detroit Area)
Vehicle
2023 Explorer ST
#29
Btw, if you break the clips for the rear trim where the camera is, I wasn’t able to find a direct part number for that clip, but did find something similar.

Ford p/n W716352-S300

I bought a pack of cheap Amazon knock-offs which seem to do the trick.
Thanks, man. Much appreciated!
 

Messages
274
Reactions
136
Points
37
Location
Massachusetts
Vehicle
2023 ST
#30
Couple more pics that might help folks doing this. Tackled the spoiler today, which was the hardest part of the job and why I saved it for last.

3 10mm nuts hold it on. One in the center and one on each end. After that it’s 9 or so clips which are a royal PITa.

first, use a phillips to remove the two clips holding the pinch sensors. Once remove carefully pull away and release the two clips underneath.

Once those 2 clips are released and the 3 nuts are removed, just the 9 PITA clips remain.

First, unplug the brake light on the left, the small red wire on the right (I think AM radio wire) and disconnect the washer connector.
IMG_0448.jpeg

after that, pull hard to release the clips. This was the hardest part. I thought I was going to break the spoiler at times with how much effort it took. Eventually it released. I only broke two clips. They are similar to W716352-S300 but the Amazon knockoffs seemed looks and didn’t really clip on properly.

Once removed, here’s the old line. Disconnect the line at the right side and remove. Install like shown in the first post.
IMG_0446.jpeg

Reinstall the spoiler. Carefully position and then use an open palm to slap the spoiler down to seat the clips. Make sure the two clips for the wings are secured.

Finally reconnect the electrical and washer lines. Here’s the detail showing how the washer line will stick out and connect to the line on the hatch.

IMG_0449.jpeg

That’s it. So nice to be able to clear the camera when it gets dirty.

Good luck. Worst part of the entire install is the damn spoiler removal.


Top