
-
Sign Up! To view all forums and unlock additional cool features
Welcome to the #1 Explorer ST Forum and Explorer ST community dedicated to Explorer ST owners and enthusiasts. Register for an account, it's free and it's easy, so don't hesitate to join the Explorer ST Forum today!
What Have You Done To Your Explorer ST Today
- Thread starter TNSmokee
- Start date
How many days went by before you remote started with your phone? Some on here have mentioned that the ST goes into deep sleep mode after a week or two and that remote start will not work once in deep sleep mode. Just wondering as my key fob stays exclusively in the vehicle.
The mentioned friend was taking care of the car while I was away. So the vehicle was started and kept running, once every 10 days or so.
No clue about the deep sleep part.
-
 1
1
- Show All
- Messages
- 330
- Reactions
- 202
- Points
- 37
- Location
- Folsom, CA
- Vehicle
- '23 ExST, '17 Raptor, '16 FoST, FFR Cobra
- Messages
- 330
- Reactions
- 202
- Points
- 37
- Location
- Folsom, CA
- Vehicle
- '23 ExST, '17 Raptor, '16 FoST, FFR Cobra
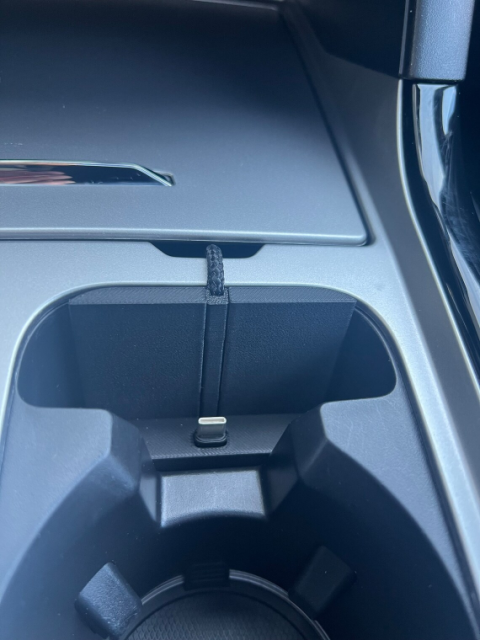
Just make sure every phone mounted on it, is snug fit. and no possibility of putting pressure on the charging port inside the phone.
Under hard acceleration and braking, the modern heavy phones are known to come out of this slot.
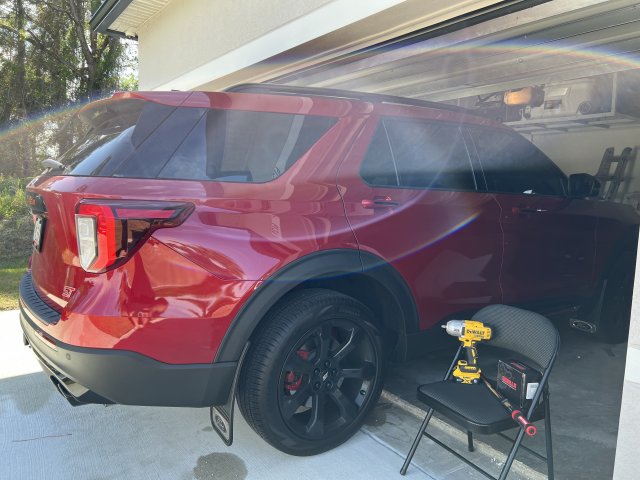
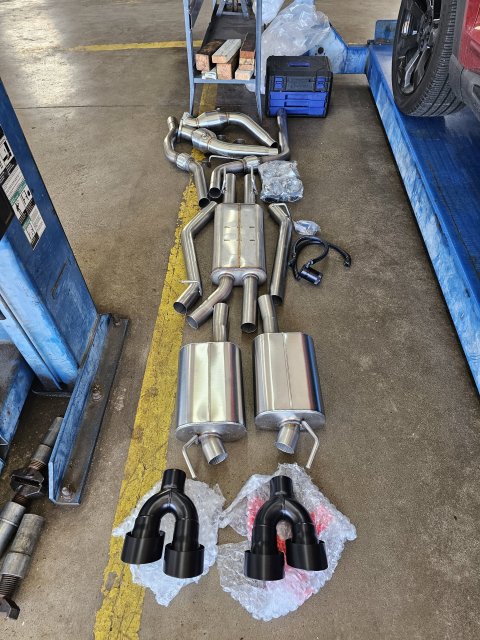
- Borla S-Type exhaust system installed.
- Tinted Suntek (Evolve) Ceramic front windshield @ 70%, Front Driver and Passenger @ 15%.
- Gorilla Lug Nutz installed.
- Dewalt 1/2in Impact Wrench to do the job.
- Craftsman Torque Wrench @ 150lbs
Pending:
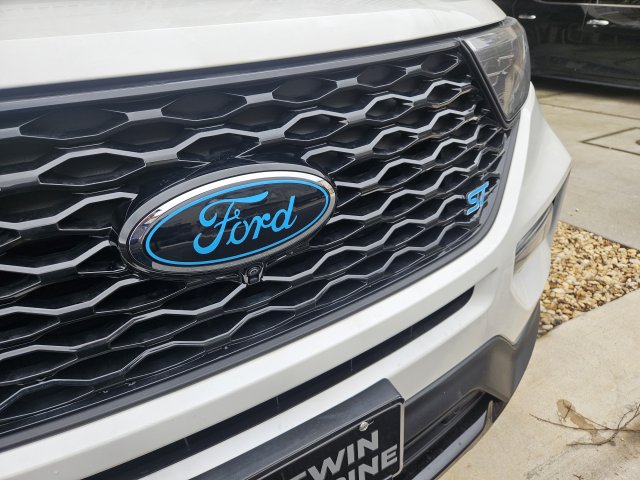
- Black/Red Ford badges (stickers)
- Ford Performance Tune
- JL Oil Catch Can ETA by 3/17
Attachments
-
 3.5 MB Views: 49
 -
 3.3 MB Views: 38
-
3
- Show All
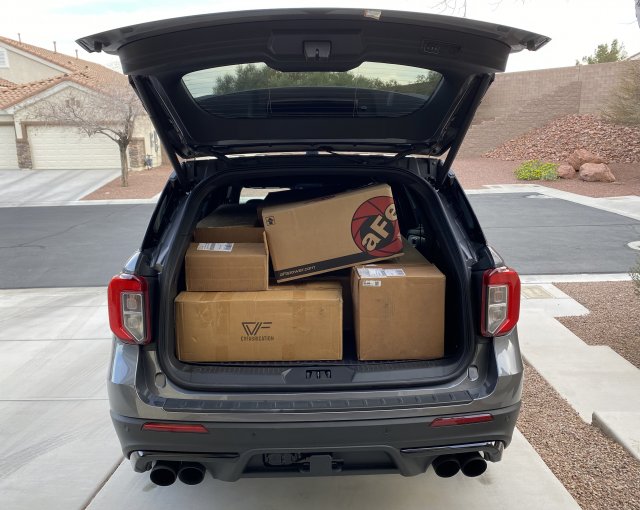
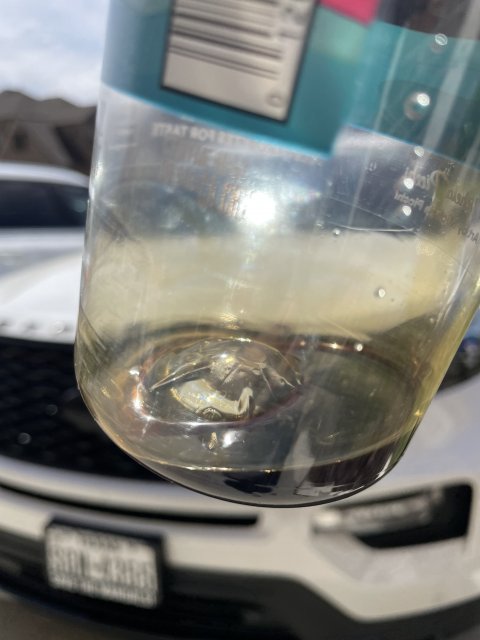
Installed CVF Downpipes, Thermal Catback and JLT Catchcan yesterday. Downpipes were a pain, and probably will have a few new scars on my hands to show, but a good day overall. Now just hoping for a few dry/decent weather
View attachment 16945
View attachment 16946
days to clean her up.

Sent from my iPhone using Tapatalk
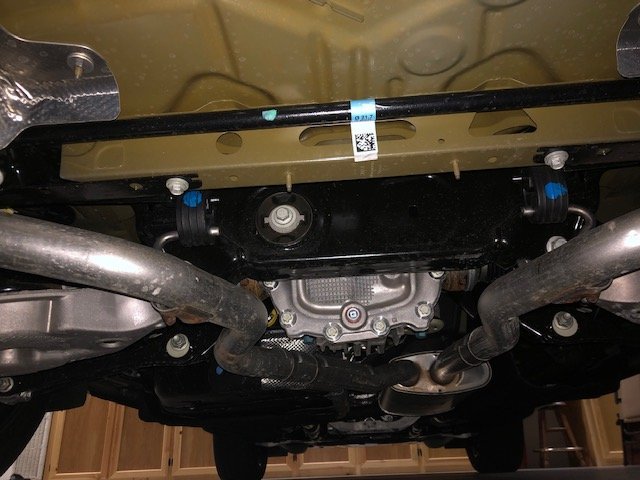
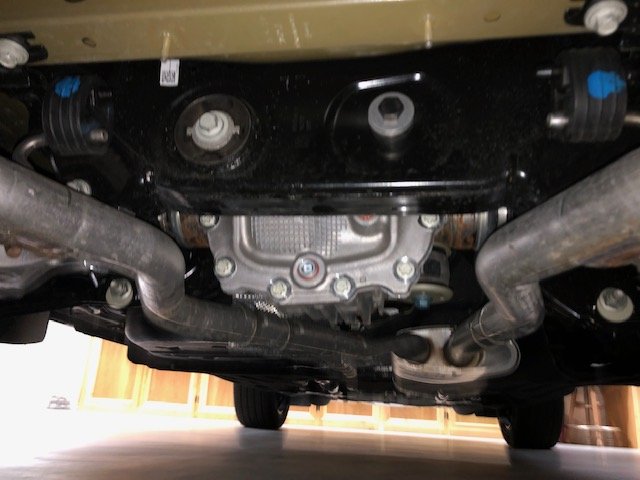
Added a bolt to the 1/3 bolt differential mount
EDIT: and removed it per some advice from knowledgeable members of this forum
I decided I would be the guinea pig…
Since Ford isn’t going to install the proper sub-frame (and I will be Hwy towing and off road towing) I decided I would just install a bolt with bushings on each side of the sub-frame (and not gunna pay the crazy prices for the existing after market brackets) for some peace of mind.
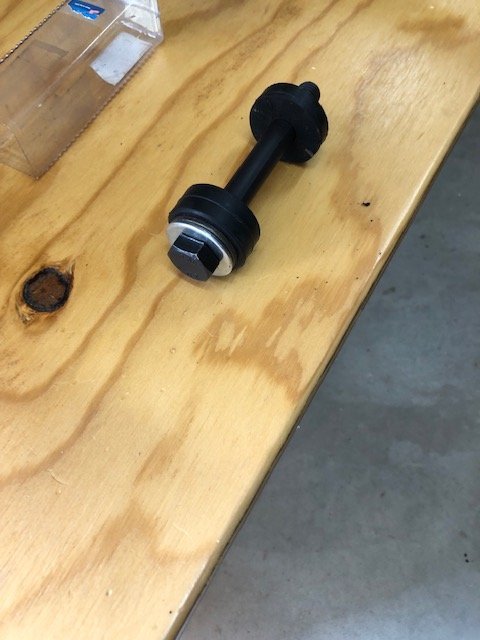
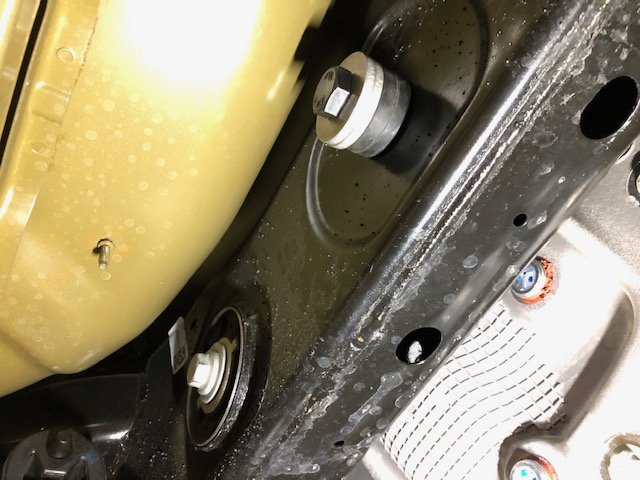
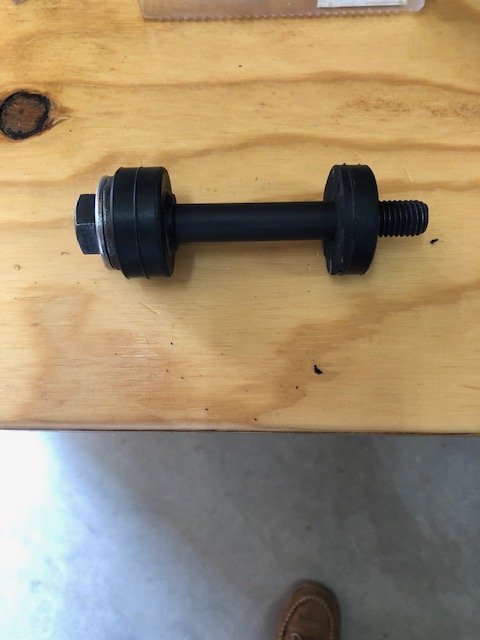
I had to drill out the rear hole to make my bushing fit inside it and behind it. I made another bushing (without protrusion into sub-frame, couldn’t get to the hole to make it bigger) and put it between the sub-frame and the differential housing bolt hole. I then used a grade-8, 14-20 bolt 5” long w/ some blue thread lock and tightened it up fairly snug.
My thinking here is… since there is at least an 1/8” space all the way around the bolt in the sub-frame and there is a “dampener” bushing snugged in there, there should be similar or more give than the OEM other side bolt thus adding support without affecting the movement that was already there. So hopefully the new bolt will just prevent too much movement and maybe avoid a broken bolt and the added support shouldn’t affect the warrantee.
**I made the bushings from shock mount bushings drilled out with 5/8” bit.
EDIT: I had to add a second washer because the bolt was a bit too long. No funny sounds or vibrations during test drive!
EDIT: and removed it per some advice from knowledgeable members of this forum
I decided I would be the guinea pig…
Since Ford isn’t going to install the proper sub-frame (and I will be Hwy towing and off road towing) I decided I would just install a bolt with bushings on each side of the sub-frame (and not gunna pay the crazy prices for the existing after market brackets) for some peace of mind.
I had to drill out the rear hole to make my bushing fit inside it and behind it. I made another bushing (without protrusion into sub-frame, couldn’t get to the hole to make it bigger) and put it between the sub-frame and the differential housing bolt hole. I then used a grade-8, 14-20 bolt 5” long w/ some blue thread lock and tightened it up fairly snug.
My thinking here is… since there is at least an 1/8” space all the way around the bolt in the sub-frame and there is a “dampener” bushing snugged in there, there should be similar or more give than the OEM other side bolt thus adding support without affecting the movement that was already there. So hopefully the new bolt will just prevent too much movement and maybe avoid a broken bolt and the added support shouldn’t affect the warrantee.
**I made the bushings from shock mount bushings drilled out with 5/8” bit.
EDIT: I had to add a second washer because the bolt was a bit too long. No funny sounds or vibrations during test drive!
Attachments
-
 42.2 KB Views: 10
Last edited:
Added a bolt to the 1/3 bolt differential mount
I decided I would be the guinea pig…
Since Ford isn’t going to install the proper sub-frame (and I will be Hwy towing and off road towing) I decided I would just install a bolt with bushings on each side of the sub-frame (and not gunna pay the crazy prices for the existing after market brackets) for some peace of mind.
I had to drill out the rear hole to make my bushing fit inside it and behind it. I made another bushing (without protrusion into sub-frame, couldn’t get to the hole to make it bigger) and put it between the sub-frame and the differential housing bolt hole. I then used a grade-8, 14-20 bolt 5” long w/ some blue thread lock and tightened it up fairly snug.
My thinking here is… since there is at least an 1/8” space all the way around the bolt in the sub-frame and there is a “dampener” bushing snugged in there, there should be similar or more give than the OEM other side bolt thus adding support without affecting the movement that was already there. So hopefully the new bolt will just prevent too much movement and maybe avoid a broken bolt and the added support shouldn’t affect the warrantee.
**I made the bushings from shock mount bushings drilled out with 5/8” bit.
EDIT: I had to add a second washer because the bolt was a bit too long. No funny sounds or vibrations during test drive!
View attachment 16949 View attachment 16950 View attachment 16952 View attachment 16953
Added a bolt to the 1/3 bolt differential mount
I decided I would be the guinea pig…
Since Ford isn’t going to install the proper sub-frame (and I will be Hwy towing and off road towing) I decided I would just install a bolt with bushings on each side of the sub-frame (and not gunna pay the crazy prices for the existing after market brackets) for some peace of mind.
I had to drill out the rear hole to make my bushing fit inside it and behind it. I made another bushing (without protrusion into sub-frame, couldn’t get to the hole to make it bigger) and put it between the sub-frame and the differential housing bolt hole. I then used a grade-8, 14-20 bolt 5” long w/ some blue thread lock and tightened it up fairly snug.
My thinking here is… since there is at least an 1/8” space all the way around the bolt in the sub-frame and there is a “dampener” bushing snugged in there, there should be similar or more give than the OEM other side bolt thus adding support without affecting the movement that was already there. So hopefully the new bolt will just prevent too much movement and maybe avoid a broken bolt and the added support shouldn’t affect the warrantee.
**I made the bushings from shock mount bushings drilled out with 5/8” bit.
EDIT: I had to add a second washer because the bolt was a bit too long. No funny sounds or vibrations during test drive!
I applaud anyone who goes to the trouble to attempt a DIY fix. In this case, I don't believe your approach is going to be effective. Because the bolt is only supported on the subframe side by a 1/8" gap (with some rubber "snugged in") and there is a probable 4" distance between the threaded differential boss and subframe, when the diff starts to rotate, due to the added unsupported length of the lever (bolt) it will move a greater distance in the "Y" plane (up and down). As the bushing deflects, force will be transferred to your bolt, the subframe, and the differential boss. The bolt will likely fail. If it doesn't you may break the differential boss.
I was gonna say when the oem bushings deflect as the diff moves up and down the new bolt is gonna whack the subframe and break the aluminum diff cover.
-
1
- Show All
My reply was a bit more redneck. lol
I was gonna say when the oem bushings deflect as the diff moves up and down the new bolt is gonna whack the subframe and break the aluminum diff cover.
I was gonna say when the oem bushings deflect as the diff moves up and down the new bolt is gonna whack the subframe and break the aluminum diff cover.
"The joint design is not robust to peak axle input torques and manufacturing variability. The primary contributor is insufficient bearing area for maximum joint loads. This results in bearing area deformation, increasing bending stress on the bolt, which may lead to a fatigue failure."
@JCR ST
Putting a bolt directly against metal will ensure it will bend then break. The OEM bolt deflects so much in the bushing it deforms the bushing till it hits metal and bends. What the heck do you think metal on metal will do, take that bolt out. It is a ticking time bomb.
My reply was a bit more redneck. lol
I was gonna say when the oem bushings deflect as the diff moves up and down the new bolt is gonna whack the subframe and break the aluminum diff cover.
I was gonna say when the oem bushings deflect as the diff moves up and down the new bolt is gonna whack the subframe and break the aluminum diff cover.