• Sign Up! To view all forums and unlock additional cool features

    Welcome to the #1 Explorer ST Forum and Explorer ST community dedicated to Explorer ST owners and enthusiasts. Register for an account, it's free and it's easy, so don't hesitate to join the Explorer ST Forum today!


Focal, Mosconi, Illusion and Helix build

OP
UNBROKEN

UNBROKEN

4000 Post Club
Messages
4,167
Reactions
4,829
Points
352
Location
Houston, TX, USA
Thread Starter #221
So after comparing the notes from 6 different judges last weekend to my own ears and what I think is going on…we all agree on what changes need to be made. Basically just different angles on the midbass and midranges to tighten up a few small issues.
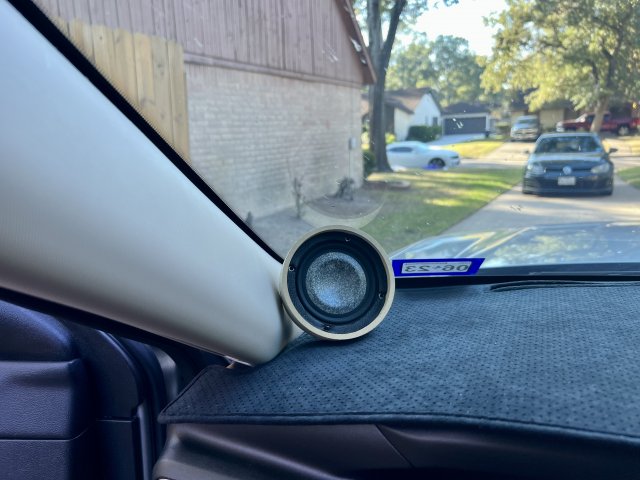
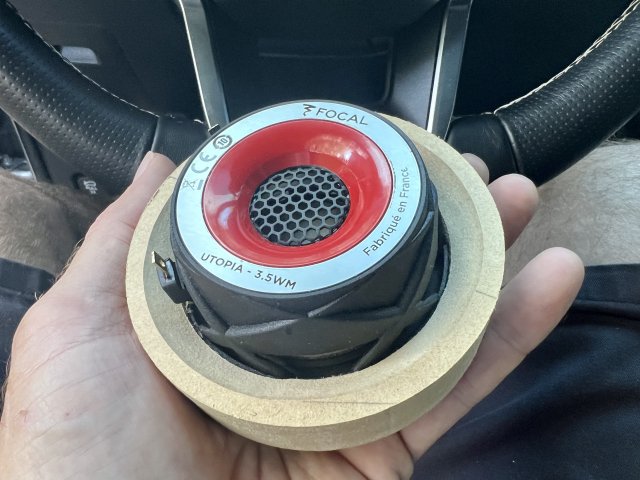
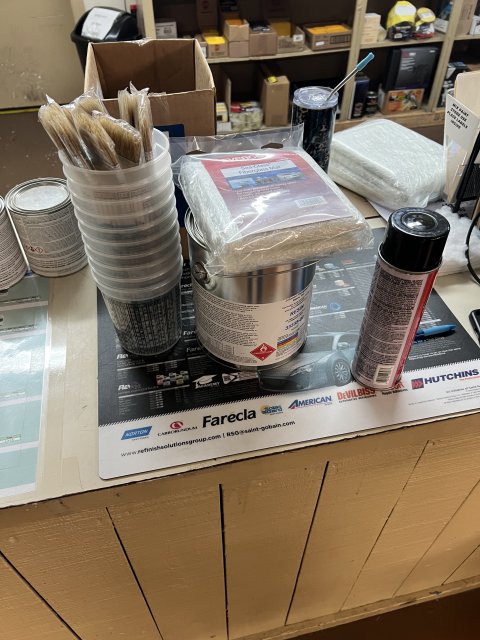
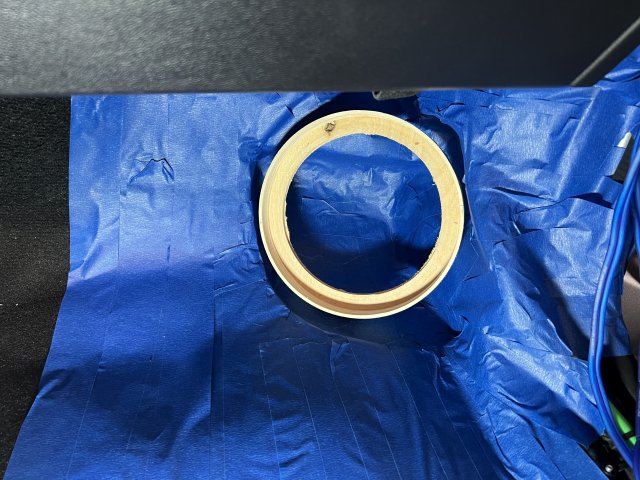
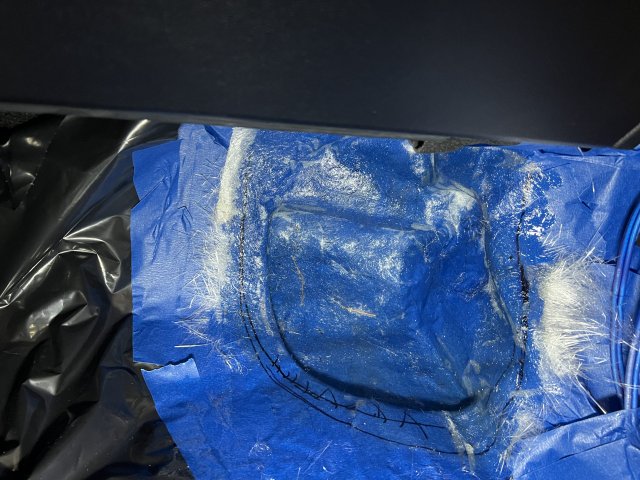
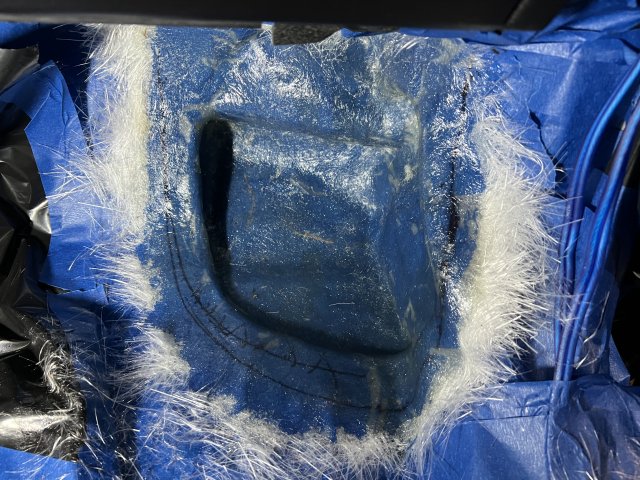
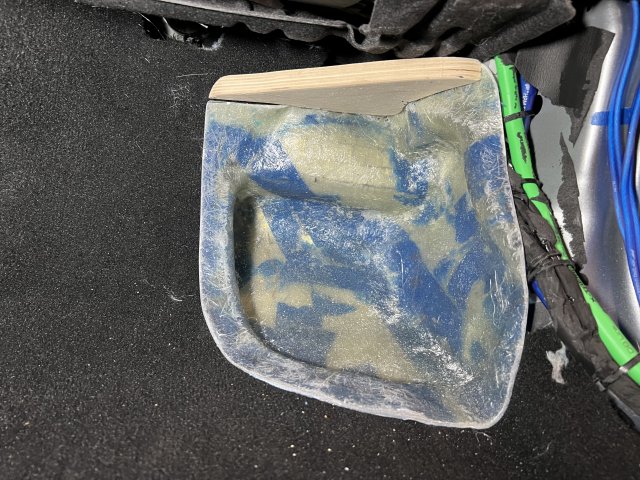
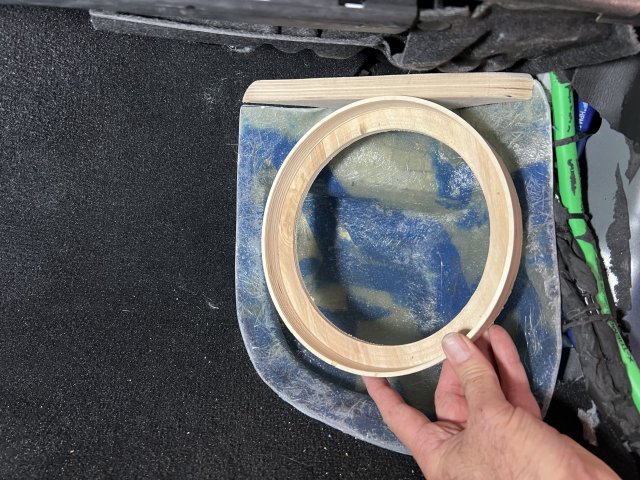
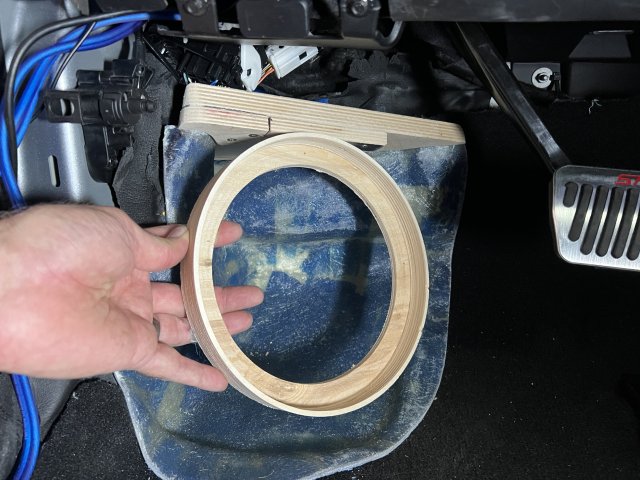
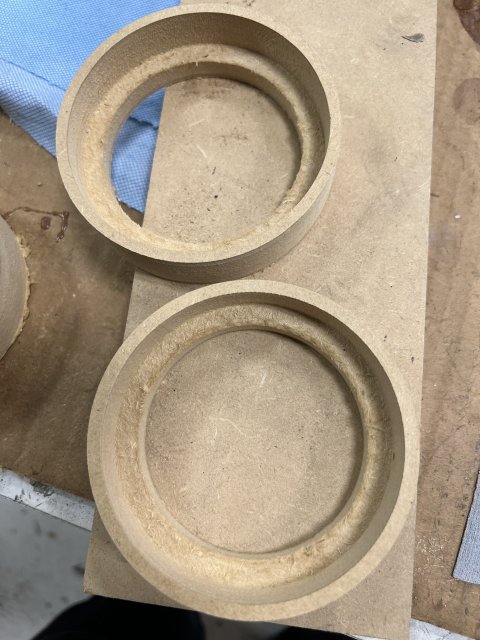
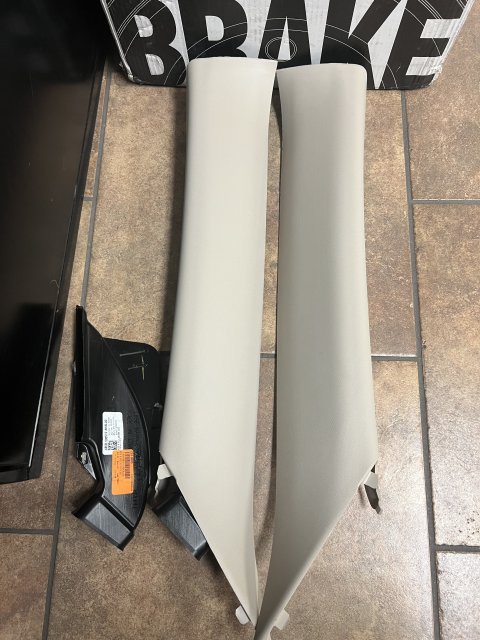
So…the a-pillars will be rebuilt and also a lot different in style. I have the new pillars, mounting rings and supplies to get started on those then were making a beauty ring from polished black acrylic to hide the flange. Similar to the one pictured here. 35331FB2-02D6-4065-B502-001DE1D5BD07.jpeg 200D4058-F16E-46E3-8CEA-0EBA678025DF.jpeg 3F78C278-A9AF-49F2-AD24-091321E390B4.jpeg

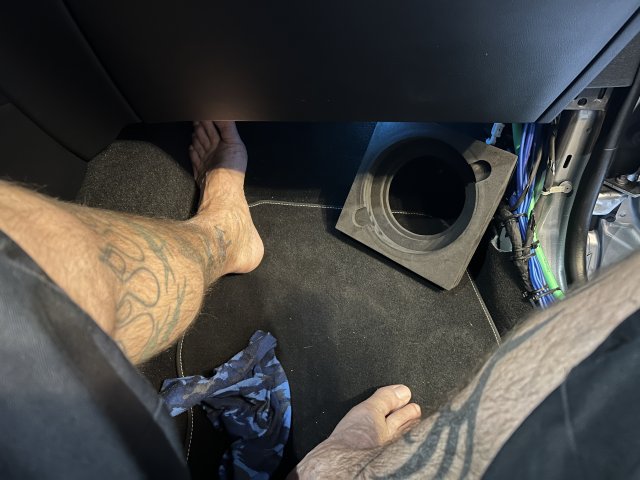
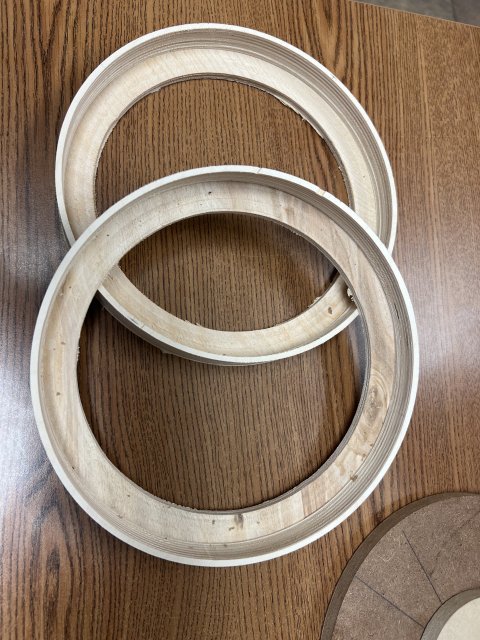
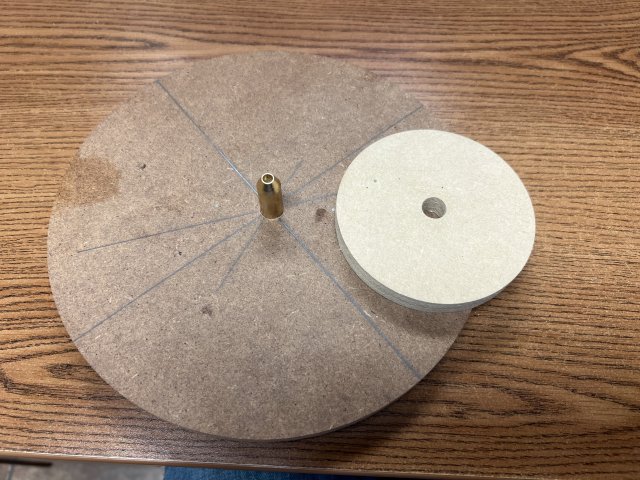
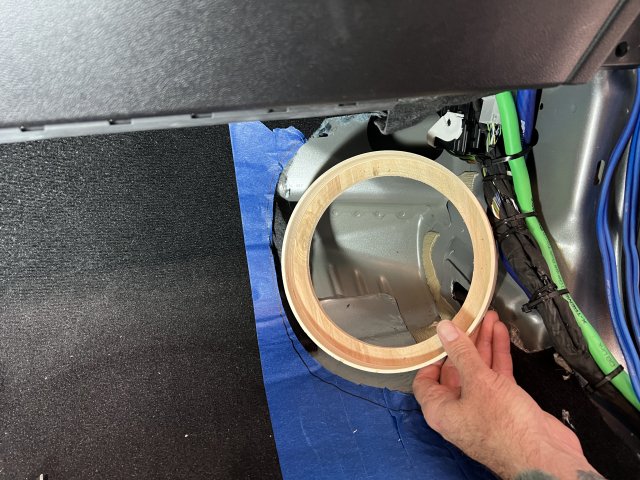
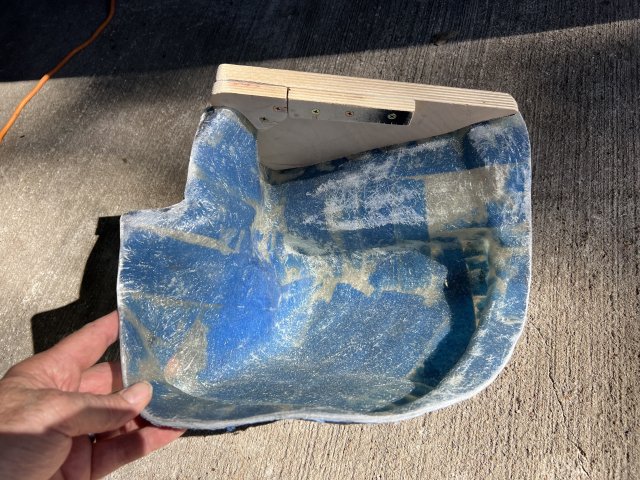
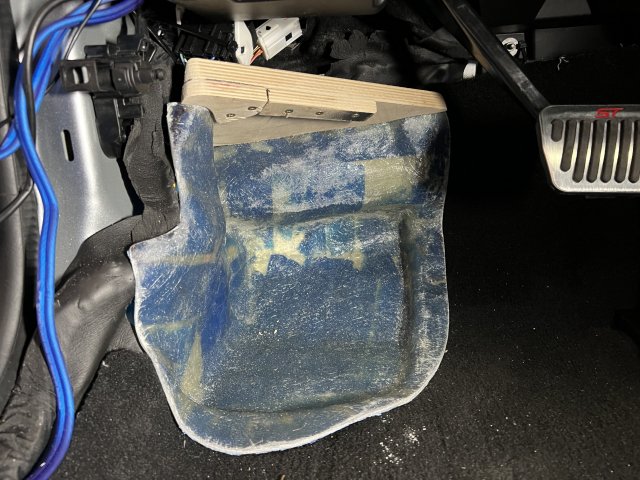
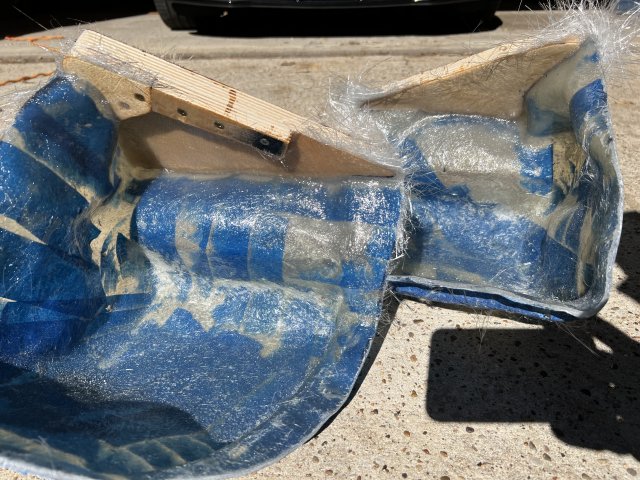
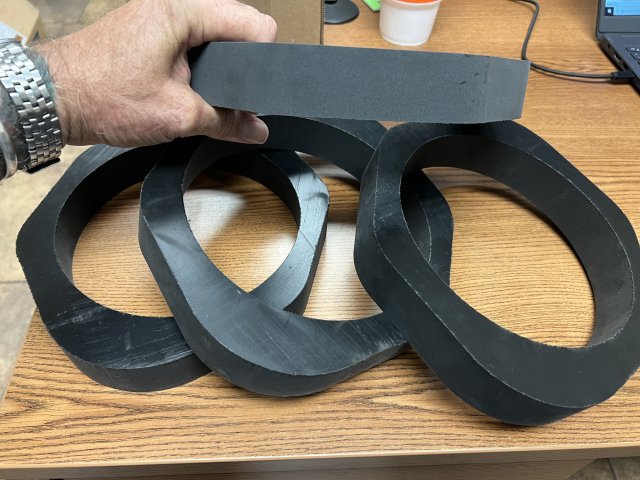
For the midbass I had a friend with a waterjet cut me some 1.5” HDPE mounting rings that will be machined to a 10° angle to fire them into the floor to try to kill a reflection issue with the center console. It’s time to play again.
E5F53303-88B4-4535-997F-28DFB55BA0AF.jpeg
 

OP
UNBROKEN

UNBROKEN

4000 Post Club
Messages
4,167
Reactions
4,829
Points
352
Location
Houston, TX, USA
Thread Starter #222
After talking to some serious installer friends I decided to give up on the doors and go to the floors. Doing custom kick panels for the 8’s. It’s more work but will yield much better results. I’ll be adding 25lbs of wheel weights per side, more CLD, CCF to decouple the pod and Blackhole Tiles inside the pods and inside the body where they will be vented into. Will likely end up at 35-40lbs per side when it’s all done but a lot of mass has to be added to kill any tactile transfer into the floor. This is gonna be fun. The circled areas are where they will vent into the body for an Infinite Baffle configuration. Doing that means a much smaller pod and less intrusion into the floor pan 3FBFC75B-244E-4037-A6DF-5B2C6654073E.jpeg CA7135CC-F259-44DF-AE70-92DECD11B2E5.jpeg 0A7FF687-F05D-4888-80E6-87FF3CE76949.jpeg
 

LondonST

New Member
Messages
8
Reactions
1
Points
2
Location
london, ontario
Vehicle
2020 Ford Explorer ST
amazing work. I miss my Focal's I had in my old car.....I just dont have it in me anymore to rip apart my car lol
 

OP
UNBROKEN

UNBROKEN

4000 Post Club
Messages
4,167
Reactions
4,829
Points
352
Location
Houston, TX, USA
Thread Starter #224
Test fits. The ring will be sunk into the pillar to move the driver out further but it gives me something to think about. Tam beveled the back of the ring to let the back side breath. I can’t wait to start cutting again. 3DC09B39-F06E-4B6D-A715-9DF96EF3BE88.jpeg 0305313B-BD85-40AF-A008-2BDD74CBDD31.jpeg
 

Cruising68

1000 Post Club
Messages
1,337
Reactions
996
Points
262
Location
Chicago, IL, USA
Love following your work……but I think you might have an addiction problem


Sent from my iPhone using Tapatalk
 

OP
UNBROKEN

UNBROKEN

4000 Post Club
Messages
4,167
Reactions
4,829
Points
352
Location
Houston, TX, USA
Thread Starter #226
The rabbit hole searching for car audio nirvana is deep…there may not even be an end. lol
 

OP
UNBROKEN

UNBROKEN

4000 Post Club
Messages
4,167
Reactions
4,829
Points
352
Location
Houston, TX, USA
Thread Starter #227
This weekend I start slinging fiberglass. Gonna work the kick panels first but the piles of supplies, mounting rings and homemade laser alignment tools are ready to go. 8421322B-A40E-424C-BF1F-D5429A0D6CF3.jpeg 9E29D472-BE61-4E6B-AE86-A70EF07D750B.jpeg BA6481DD-962C-44F2-A85D-A17AE9C38E36.jpeg 3CF3B74C-C8F6-4809-9D0A-638CFB83ADF7.jpeg
 

OP
UNBROKEN

UNBROKEN

4000 Post Club
Messages
4,167
Reactions
4,829
Points
352
Location
Houston, TX, USA
Thread Starter #230
Fully committed now. DA69F06B-56D3-4DB2-8079-7FF0F12562EC.jpeg
 

OP
UNBROKEN

UNBROKEN

4000 Post Club
Messages
4,167
Reactions
4,829
Points
352
Location
Houston, TX, USA
Thread Starter #231
Just posting pics of one side but the other matches. I moved the wiring harnesses on both sides for more space. Luckily there’s plenty of slack so I just moved them and zip tied as needed.
Floor cleaned and CLD added.
49F51A99-C60C-4A67-AB66-5468E9DE7419.jpeg

Wheel weights added for more mass. Dead is the name of this game…don’t want any tactile transfer into my feet.
4BD0AF07-377A-4918-90D9-C5545A8674D1.jpeg

1/8” CCF added to decouple the pod.
4C68F70C-2D10-49D4-A357-C2EE5C98920E.jpeg

And my stopping point today is everything taped up and ready for glass. C880FAC4-0700-4D7C-8FED-AE882A1D0AE8.jpeg
 

Cruising68

1000 Post Club
Messages
1,337
Reactions
996
Points
262
Location
Chicago, IL, USA
Really enjoy following your hard core dedication!


Sent from my iPhone using Tapatalk
 

OP
UNBROKEN

UNBROKEN

4000 Post Club
Messages
4,167
Reactions
4,829
Points
352
Location
Houston, TX, USA
Thread Starter #233
Layer #1 is down. Gonna add 3 more over the next couple of days.
1E6A7D72-F951-4314-9F8E-9A0336C5C526.jpeg
 

OP
UNBROKEN

UNBROKEN

4000 Post Club
Messages
4,167
Reactions
4,829
Points
352
Location
Houston, TX, USA
Thread Starter #234
3 overlapped layers of 1.5 oz mat. I might call that good enough. BC6B6DCB-480C-4B0A-A8C3-8D8F63F1E75A.jpeg
 

Messages
66
Reactions
38
Points
17
Location
Yorba Linda CA
This is called work, not boredom. I wonder what you do when you are really bored, like build a house? Pretty slick though, sucks you need to adjust your A pillars after you just completed them not terribly long ago but that's what perfectionist do.
 

OP
UNBROKEN

UNBROKEN

4000 Post Club
Messages
4,167
Reactions
4,829
Points
352
Location
Houston, TX, USA
Thread Starter #236
First test fit is a success. Now to turn them into something useful. F7A3098C-1FA0-45F0-8A96-CF59C9FCFEDD.jpeg
 

OP
UNBROKEN

UNBROKEN

4000 Post Club
Messages
4,167
Reactions
4,829
Points
352
Location
Houston, TX, USA
Thread Starter #237
Kick panel progress…both sides. The left is taller because the dash is higher there. I added blocks to fill in a gap and to anchor the speaker ring so both sides will be 1.25” off the floor. Tops are capped and I need to glass that in today then I’m taking a break until next weekend.
I need to lay out and cut the hole for the IB part then I can mount the rings next weekend and start glassing.
7E499668-B5BE-4E66-8B82-F5EB9E85787D.jpeg C9DB6FC0-FCF7-45A3-92FF-616139B28FF4.jpeg F047F670-8FE1-429D-BC54-05CAA1F785F5.jpeg BF3E4222-B5F1-49C0-ACCC-8A3E69A76AA4.jpeg 6D7B5473-FE64-4D50-9A6A-8E67D3593946.jpeg F9F34FB9-CBD6-49D7-B34D-4D9E097C2962.jpeg
 

OP
UNBROKEN

UNBROKEN

4000 Post Club
Messages
4,167
Reactions
4,829
Points
352
Location
Houston, TX, USA
Thread Starter #238
Now it sits until next weekend.

2C5755E2-E96B-4348-976C-9F5DA86C6449.jpeg
 

zdubyadubya

Active Member
Messages
813
Reactions
629
Points
232
Location
Utah
Vehicle
2020 ST
Where do you rest your left foot? I had this thought when you first mentioned putting speakers in this spot and now the lack of space to the left of the brake pedal looks even worse than I imagined.
 

OP
UNBROKEN

UNBROKEN

4000 Post Club
Messages
4,167
Reactions
4,829
Points
352
Location
Houston, TX, USA
Thread Starter #240
Where do you rest your left foot? I had this thought when you first mentioned putting speakers in this spot and now the lack of space to the left of the brake pedal looks even worse than I imagined.
Concessions must be made when chasing the goals I’m chasing. There will be a covered 14 gauge expanded metal grille in place for daily driving. That will be replaced with a polished acrylic ring to hide the speaker flange but not the cone at competitions.


Top