quick question, in one of the above posts you mentioned that you need .6cuft for the sub after install. assuming you are using a JL TW5v3 sub. the internal box requirements are .8 cuft and the displacement of the driver is .052, so you should be somewhere in the .75 cuft range total after sub installed. are you still over using that math?

-
Sign Up! To view all forums and unlock additional cool features
Welcome to the #1 Explorer ST Forum and Explorer ST community dedicated to Explorer ST owners and enthusiasts. Register for an account, it's free and it's easy, so don't hesitate to join the Explorer ST Forum today!
13" sub in factory location and rest of stereo upgrade
- Thread starter Cruising68
- Start date
Thread Starter
#22
quick question, in one of the above posts you mentioned that you need .6cuft for the sub after install. assuming you are using a JL TW5v3 sub. the internal box requirements are .8 cuft and the displacement of the driver is .052, so you should be somewhere in the .75 cuft range total after sub installed. are you still over using that math?
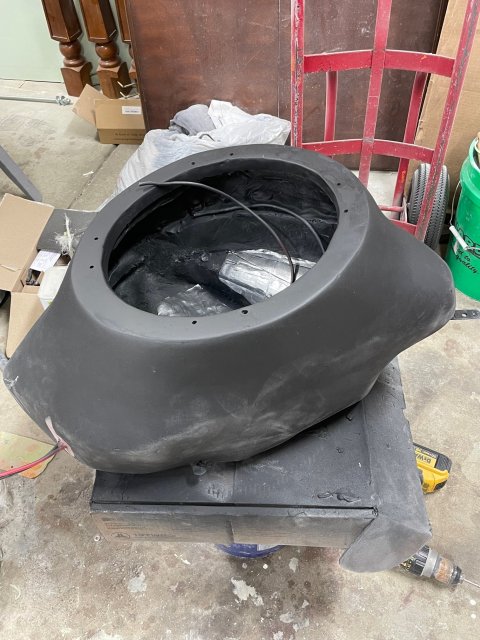
I also changed my mind again. Instead of building a box to put inside, I cut the bottom off completely. I filled the bottom with the water that was over the speaker spec and drew a sharpie all the way around and got busty with the sawzall. The base had about 1" of epoxy total and it weight about 10 pounds so I lopped it off and used fleece to re-build the bottom.
I love cutting up things you thought were done
")
Thread Starter
#24
You would have been fine that little bit over. Would have had a little better low end extension.
Besides, I love working with fiberglass........NOT. I even prematurely told my wife I was done creating dust in the garage. So much for that.
Thread Starter
#25
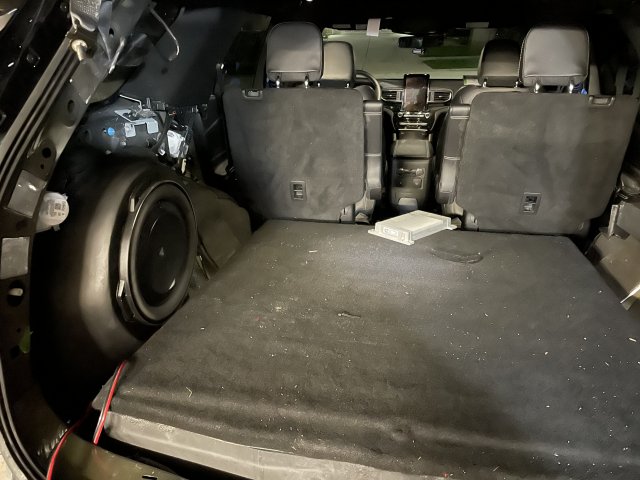
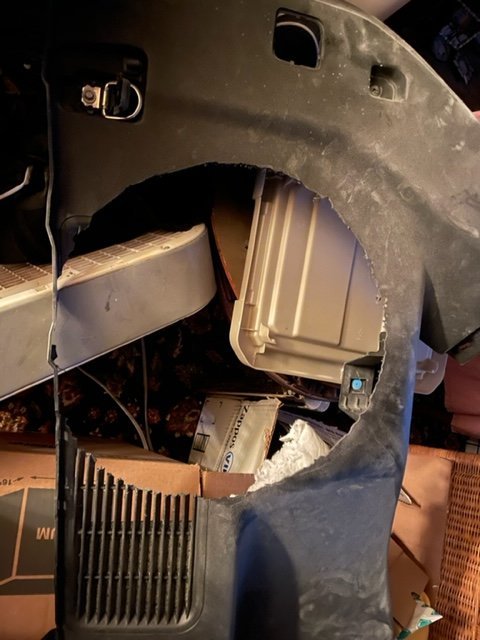
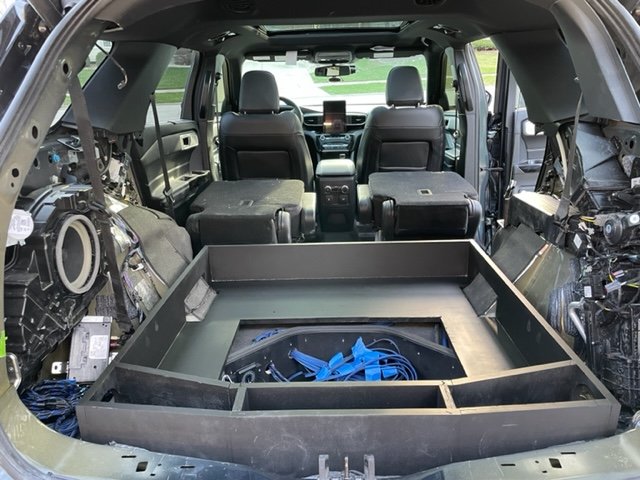
Finished the enclosure minus mounting the sub. Also decided to ditch the spare tire. I am building a box for my amps in the spare tire well and hopefully building a lockable storage box above the amps. Large enough for the apocalypse I was contemplating leaving the third row out and building a big box for everything keeping the spare. Then I thought about how many times I have changed a tire on the road in the past 40 years......ZERO. I figure that will ensure I get a flat on my next road trip.
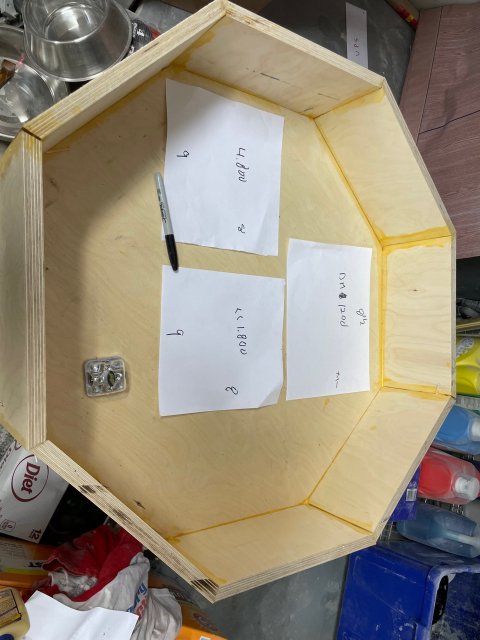
I was contemplating leaving the third row out and building a big box for everything keeping the spare. Then I thought about how many times I have changed a tire on the road in the past 40 years......ZERO. I figure that will ensure I get a flat on my next road trip.
Last edited:
Thread Starter
#26
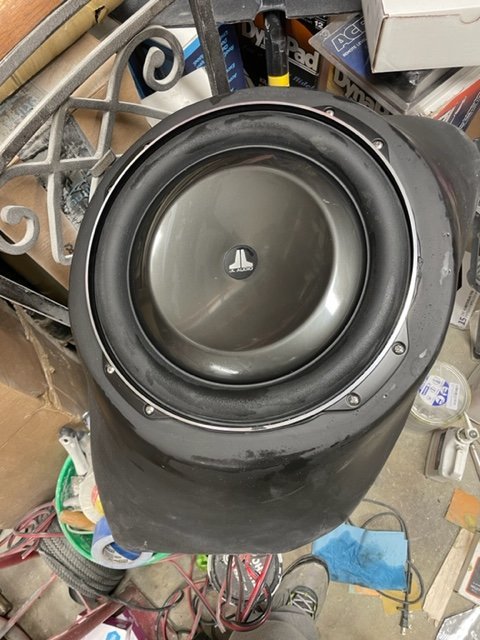
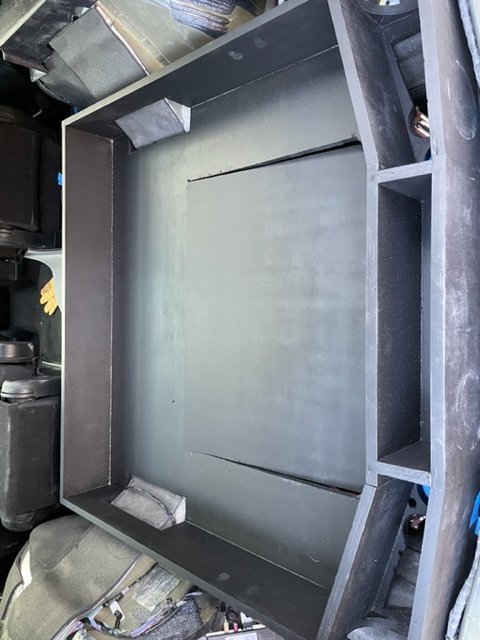
Finished the sub and enclosure tonight. Started working on the enclosed amp rack for the bottom of the spare tire well. Haven't quite figured out the ducting yet but that has always been my mode. What fun would it be if I designed it all on CAD and just cut the pieces lol. My way I can do things over for twice the fun
-
 1
1
- Show All
its starting to come together. how are are going to modify the panel that fits over the sub? looking forward to hearing it.
-
1
- Show All
Thread Starter
#29
its starting to come together. how are are going to modify the panel that fits over the sub? looking forward to hearing it.
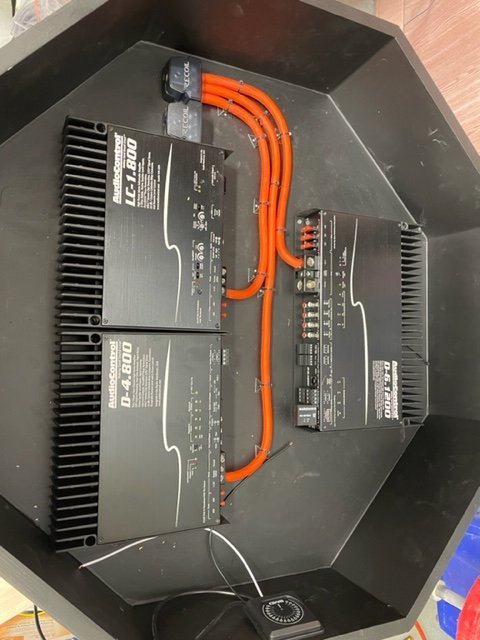
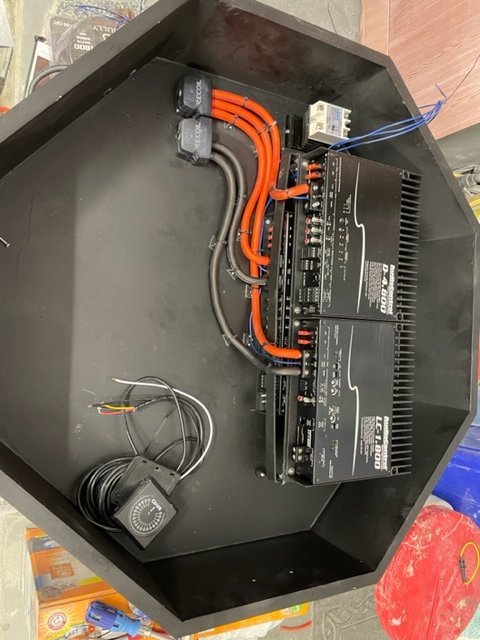
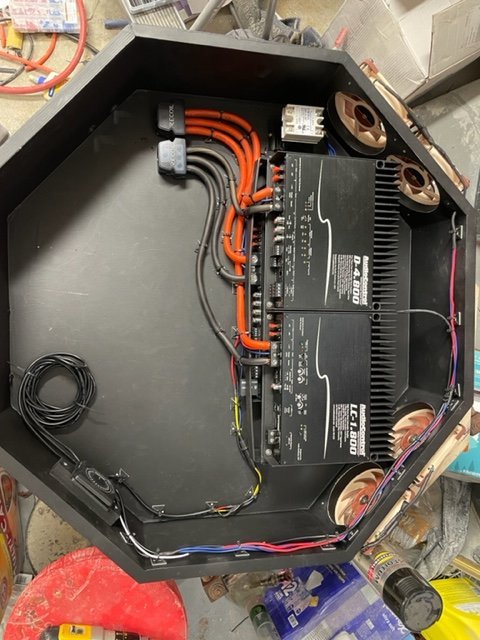
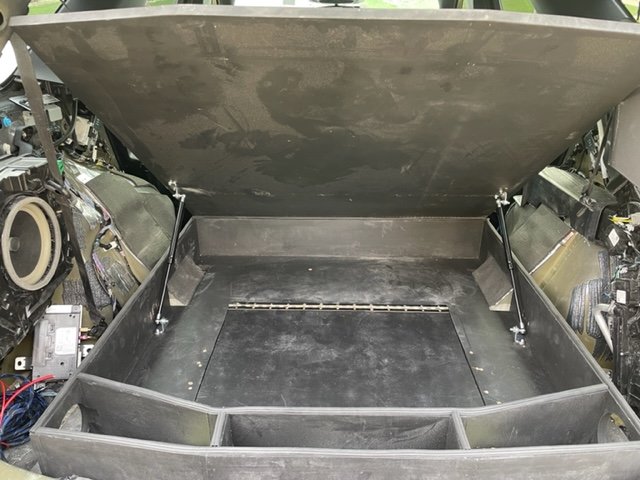
I also ripped apart the amp rack and started over. I finally figured out my venting airflow and I decided to stack the amps towards the rear of the car and ventalate accross the amps. All the hot stuff goes towards, amps and solid state relay so it stays cool and cabling and the fan controller will go in the other half. Might even have a small storage area in the bottom section if I have enough room.
@UNBROKEN , I do like that the very back is vented to the outside on both sides. Thats why I moved everything to the back so I will just have one air channel on the left and one on the right. Hoping because it vents behind the trim panel means that I won't hear the fans.....ever. I'm putting in 4 120mm Noctua computer fans on a controller and I can't imagine ever needing them to run full speed but you never know until you seal everything up.
-
1
- Show All
Thread Starter
#32
You wont have any issues with the Notuas even running full blast you will never hear them. I have four in my PC which sits ~3' from me, when I crank them to 11 they are very hard to hear.
He really doesn’t need to. Part of that side panel is already vented and that thin plastic won’t stop anything anyway. Panel vibrations are all he needs to worry about. Kill those and it’ll be solid.
Thread Starter
#34
Unbroken, I wasn't sure if the sub was going to be behind the panel or through it like he is showing. I was thinking if I did something like this that I would router out a shape for the grill out of wood, screw the panel straight to the enclosure once isolated and then use magnets to hold on the grill. clean and will hide any of the panel that was rough cut or misshapen....Just a concept really...LOL
I think that's where I will end up. I am not finding any type of trim pieces that I could use around the panel. Will probably have to visit a friend with a routing table and just make something out of wood then treat it to look however I want.
Thread Starter
#37
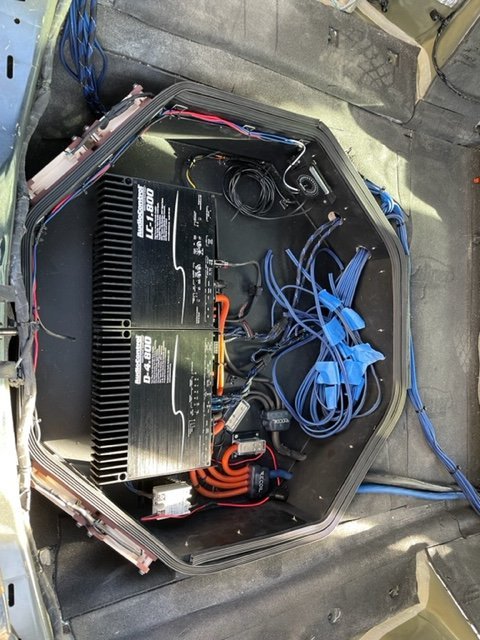
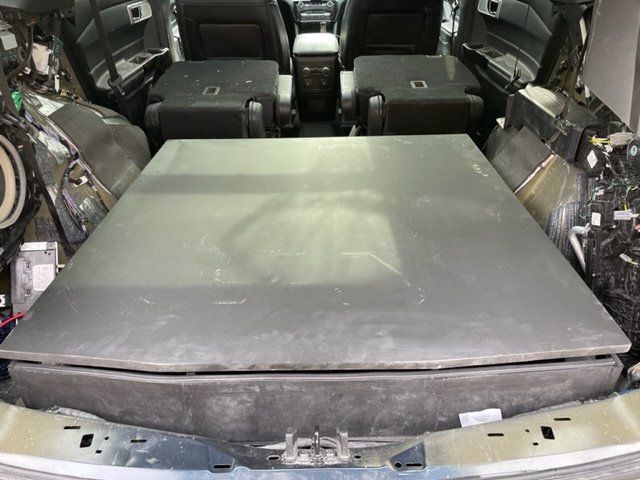
Finished 95% of the rack and storage box. Going to line the inside with dynaliner and neoprene over that. Probably secure some straps so I can hold whatever i need down. Probably putting dynaliner under the black carpet I got for the top. All wiring in the amp rack is finished except for terminating the speakers and hooking up the NAV-TV interface. Going to move on to the rear doors and front to finish the sound deadening.
-
1
- Show All
Thread Starter
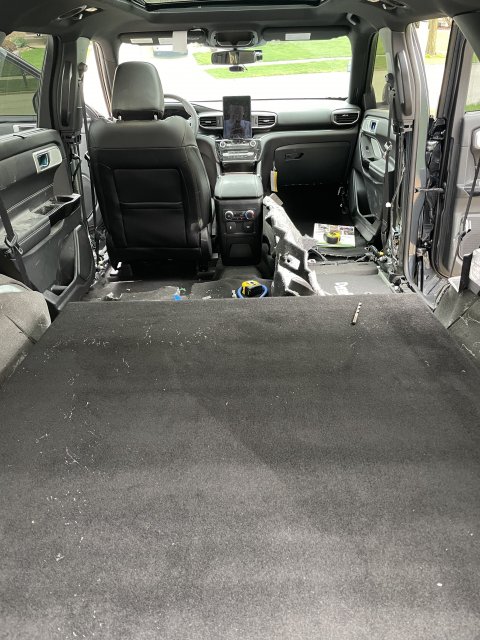
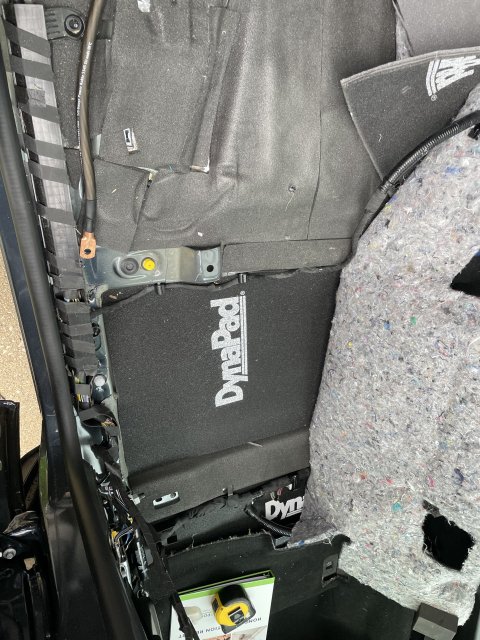
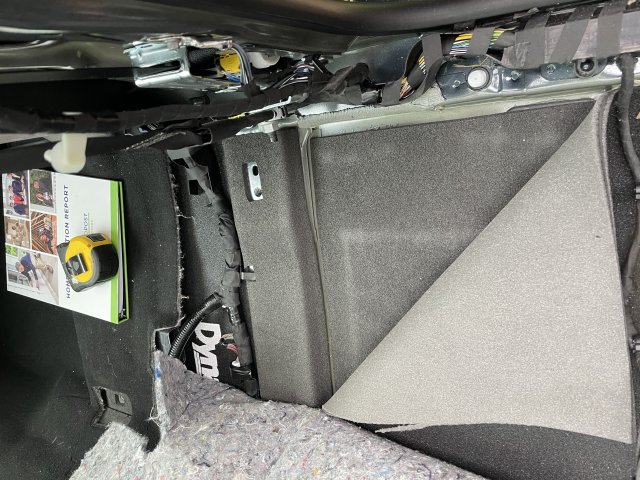
#38
Pulled the first and second row seats and the center console to finish sound deadening the floor. Got that done. Also installes a cheap lock on my storage box. Looking for something more secure but I have a cabinet style lock on it now. Tomorrow I'm hoping to get the fat ground wire setup somewhere, probably behind 2nd row, and get the power run to the battery. Would also like to get the carped in the box and start getting the trim panels bacl on but it is supposed to storm on and off tomorrow and my garage is full of crap.