OP
Thread Starter
#881

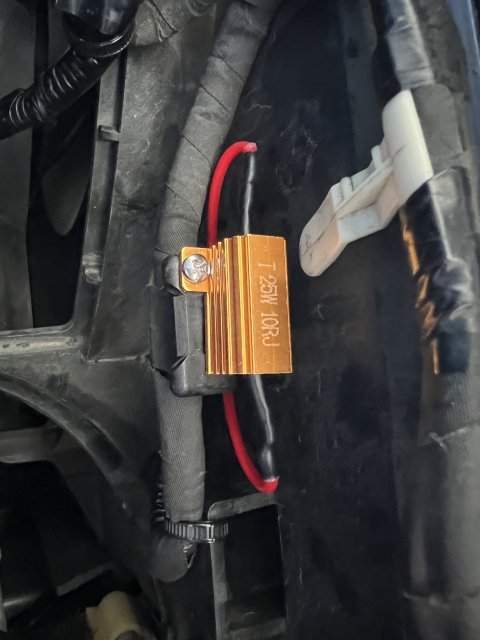
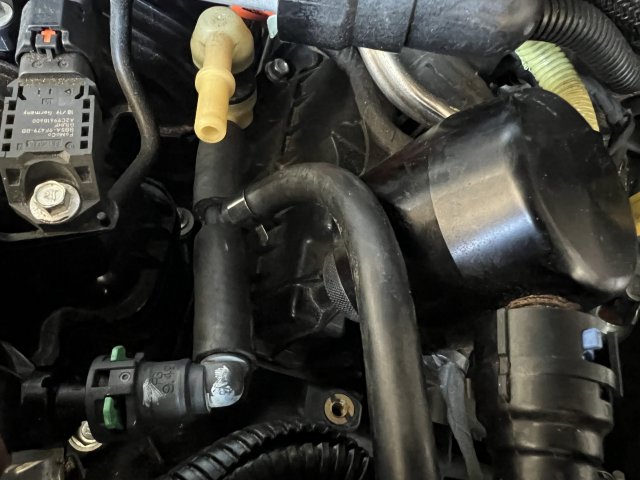
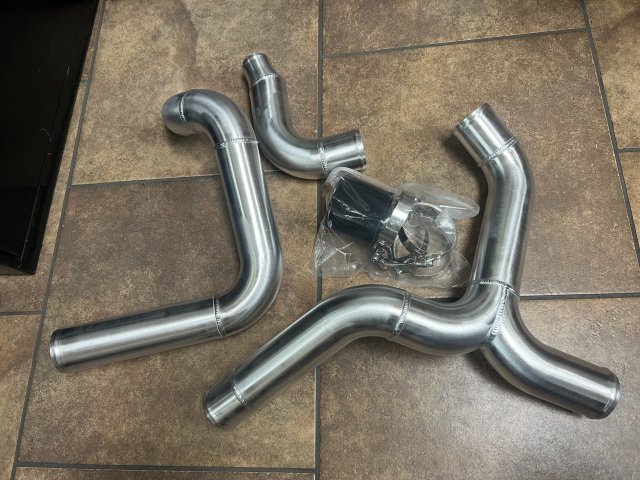
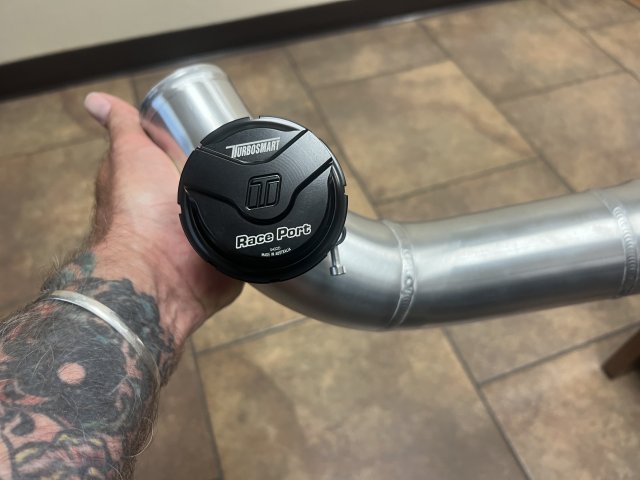
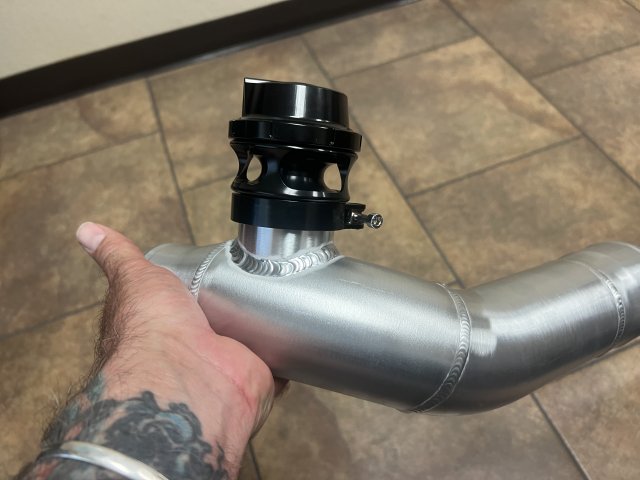
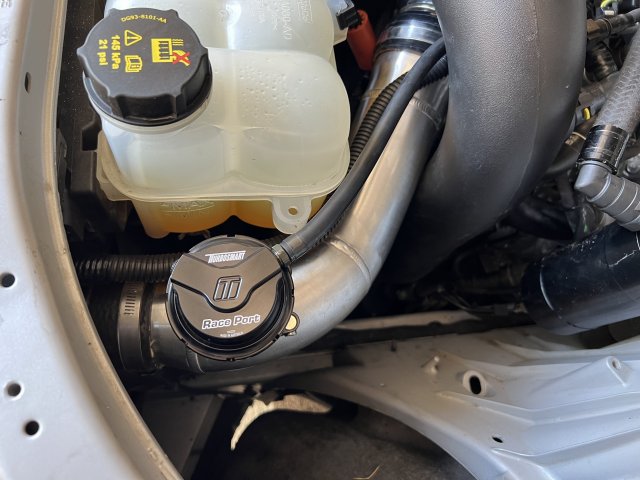 Swapped from the TS Kompact Dual Port in the oem spot to the Race Port in the FenFab charge pipe. Simple install with the block off plate and rubber plug for the oem location. I cut the stock plug off and hard wired the resistor then mounted it to the radiator shroud. Cut out and reused the stock connector for the vacuum connection and routed the hose as out of the way as I could. All in all a damn good fit.
 2
2
 16
1
1
16
1
1
 3
3
")