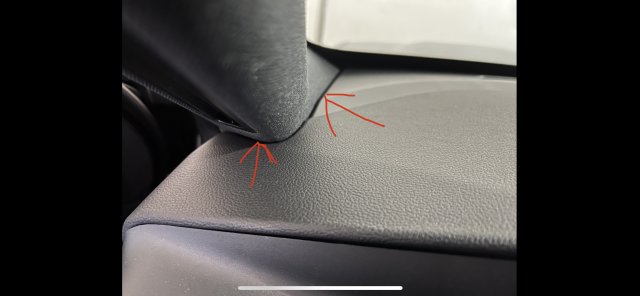
So my initial plan was to just do a mirror tap like I did on my old explorer. I did start to mess with removing the black cover piece and the one side came off relatively easily. So I think that way would be straightforward.
However, all these writes up on fuse hook up or obdii hookup with the ability to record when the car is off is tempting. Although I’m not sure my garmin can do that without some adapter from garmin.
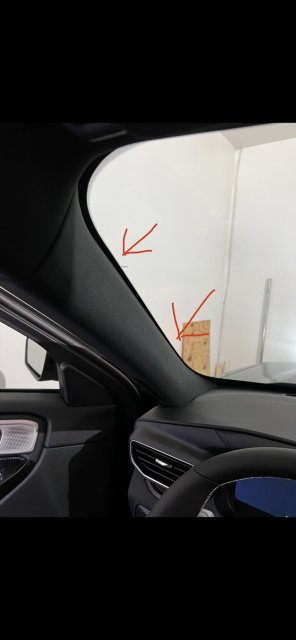
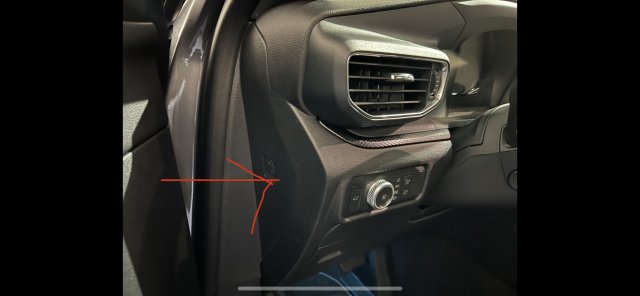
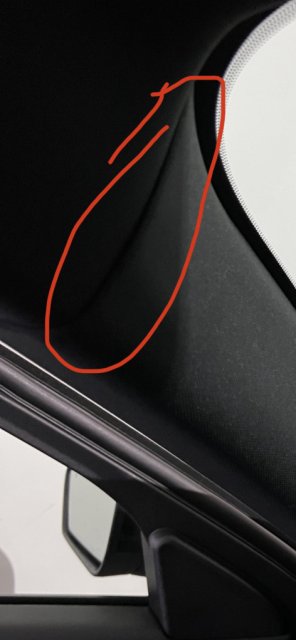
My only concern with doing the fuse hook up is I’m bound to see some wire. I can run it behind the panel on the side of the dash that says airbag on it, then run it up the a pillar hidden by the black seal trim. But eventually it has to cross over and I’ll see that. Am I missing something? I don’t want to remove the a pillar. Thanks
However, all these writes up on fuse hook up or obdii hookup with the ability to record when the car is off is tempting. Although I’m not sure my garmin can do that without some adapter from garmin.
My only concern with doing the fuse hook up is I’m bound to see some wire. I can run it behind the panel on the side of the dash that says airbag on it, then run it up the a pillar hidden by the black seal trim. But eventually it has to cross over and I’ll see that. Am I missing something? I don’t want to remove the a pillar. Thanks