-
Sign Up! To view all forums and unlock additional cool features
Welcome to the #1 Explorer ST Forum and Explorer ST community dedicated to Explorer ST owners and enthusiasts. Register for an account, it's free and it's easy, so don't hesitate to join the Explorer ST Forum today!
Focal, Mosconi, Illusion and Helix build
- Thread starter UNBROKEN
- Start date
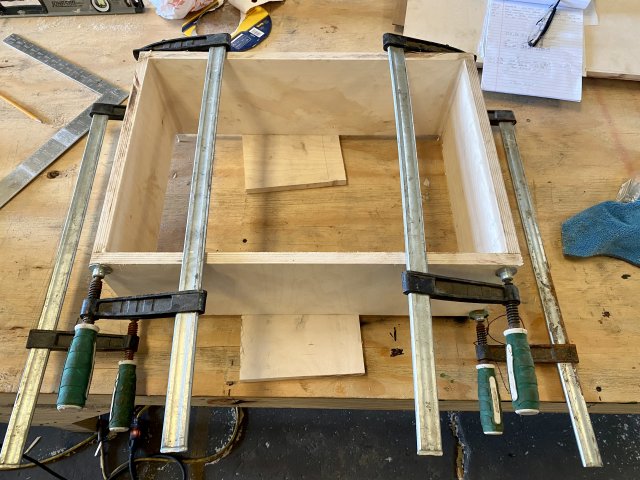
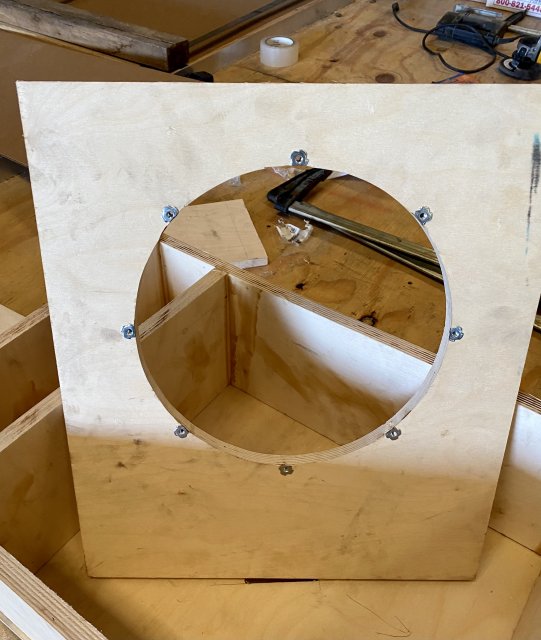
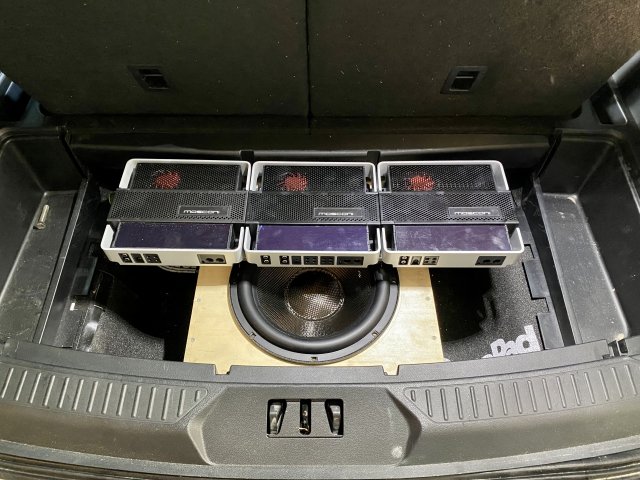
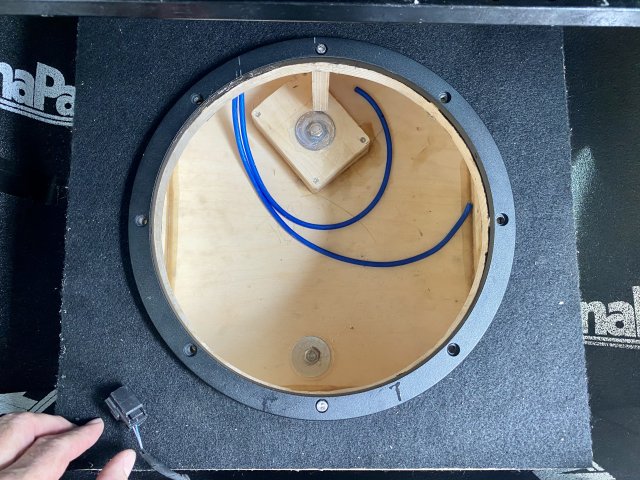
Today’s progress. Glued and screwed enclosure that bolts down inside using the oem spare tire mount. T-nuts for the sub. Amp rack is welded up and everything fits like I wanted.
View attachment 7387
View attachment 7388
View attachment 7389
View attachment 7390
OP
Thread Starter
#24
Thread Starter
#24
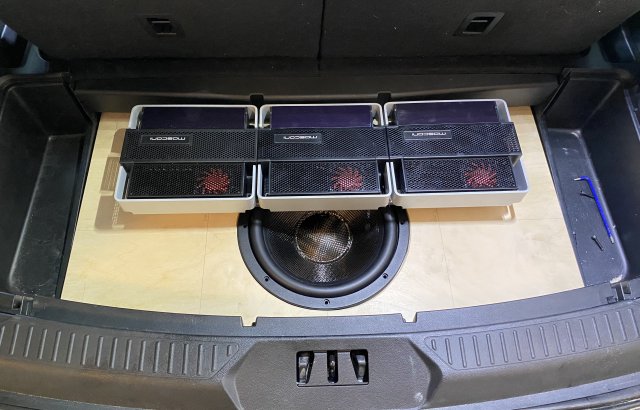
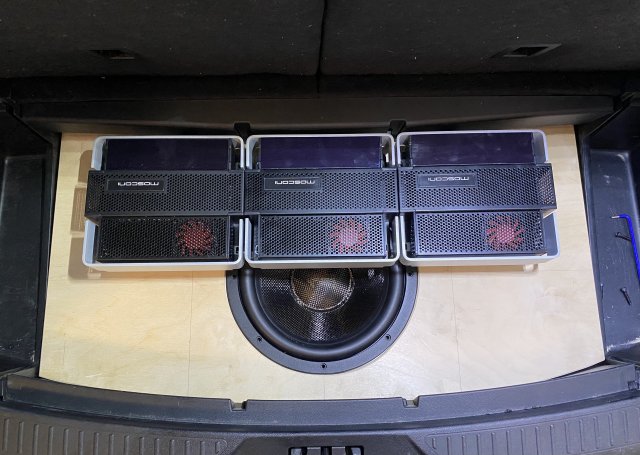
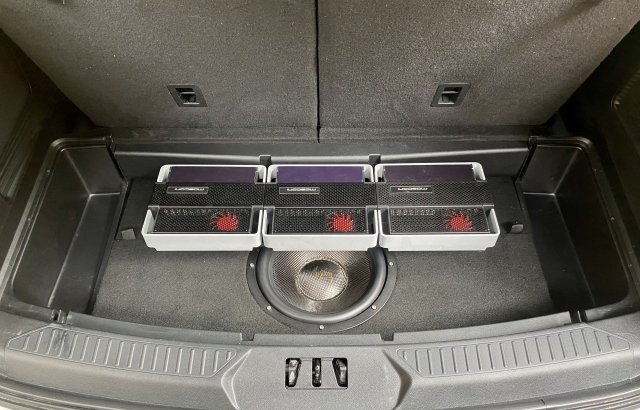
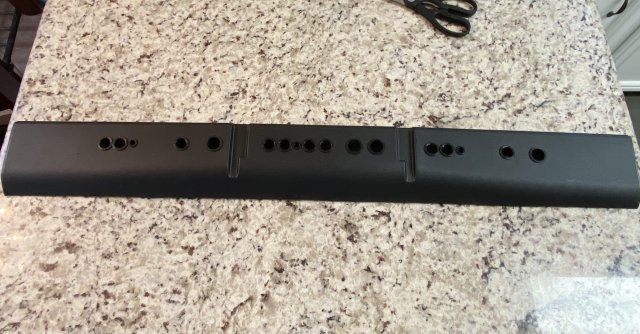
1st trim panel complete. The amps will be flipped and all wiring will run straight into the oem trim panel behind them. Virtually no wires will be seen. This panel is held in place with neo magnets. The final trim panel will be press fit where the factory piece goes. I’ll order new Mosconi badges so I can flip them the right way.
OP
Thread Starter
#25
OP
Thread Starter
#26
Thread Starter
#26
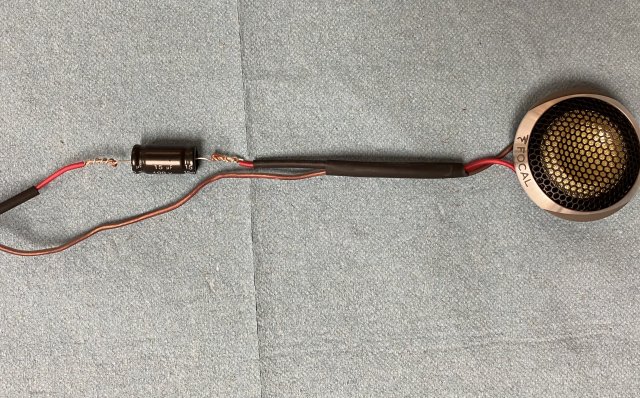
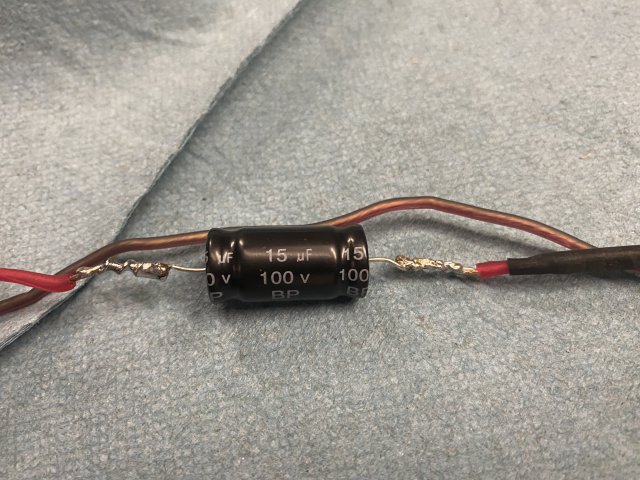
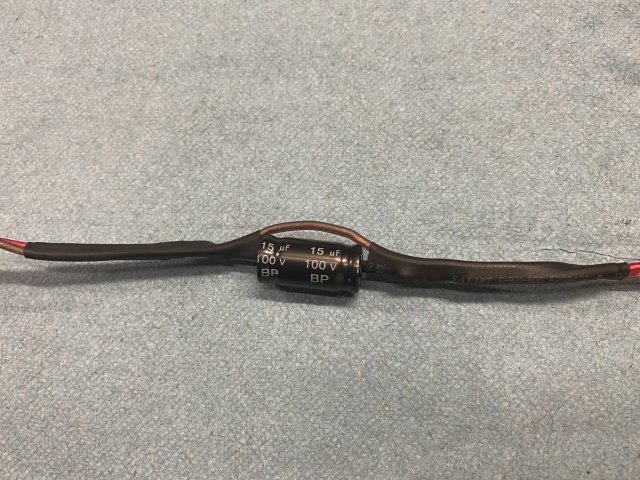
Got the tweeters ready today. I wanted to add caps for back-up protection…didn’t even have to figure it out myself…looked up the formula on Google and found a video a guy made using these exact TKMX tweeters…so I copied. They’re 15uF 100V Electrolytic Non-Polarized Crossover Capacitor’s.
And forgive the soldering…I may touch that iron twice a decade. I’ll add some Tessa tape to keep them from rattling around later
And forgive the soldering…I may touch that iron twice a decade. I’ll add some Tessa tape to keep them from rattling around later
-
 1
1
- Show All
OP
Thread Starter
#32
Thread Starter
#32
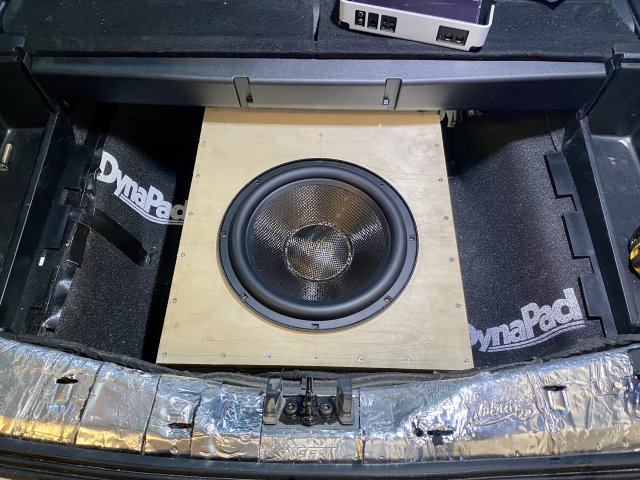
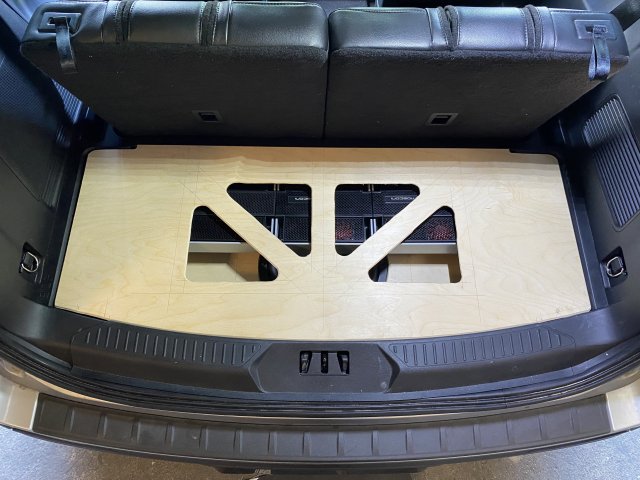
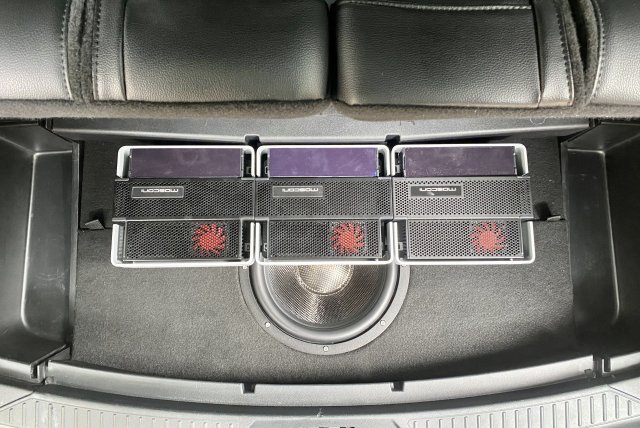
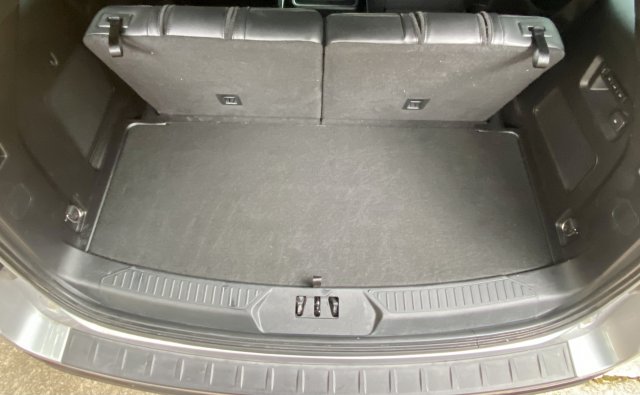
Today’s progress. Put carpet on the top of the enclosure only just to decouple the trim panels a bit. The magnets still hold them just fine. Got the enclosure bolted in using the oem hole for the Jack and spare but it wasn’t solid enough for my liking so I went through the floor pan with another 1/2” bolt and now it’s not moving. There’s 1/8” CCF on the bottom of the enclosure to decouple from the floor.
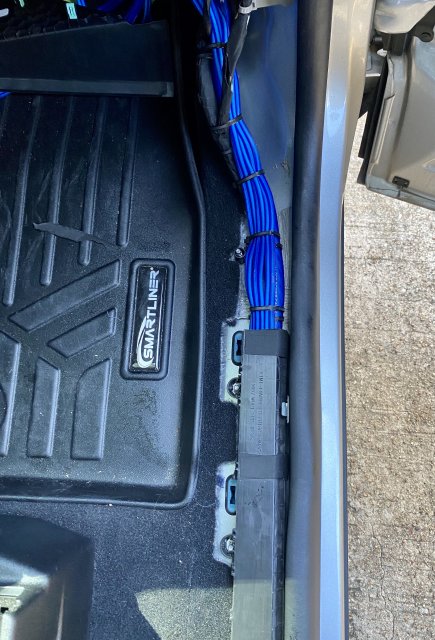
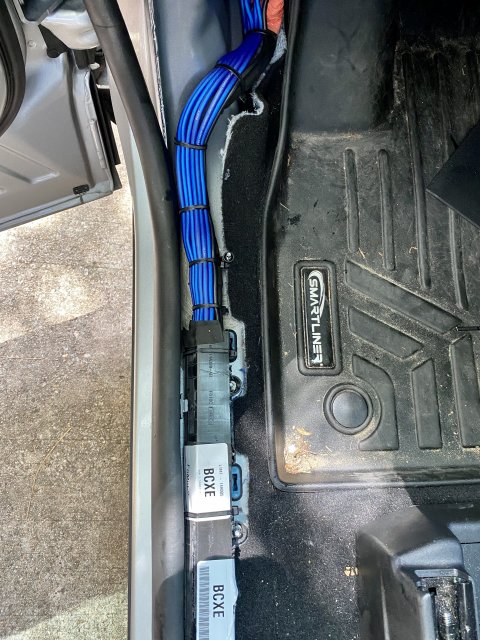
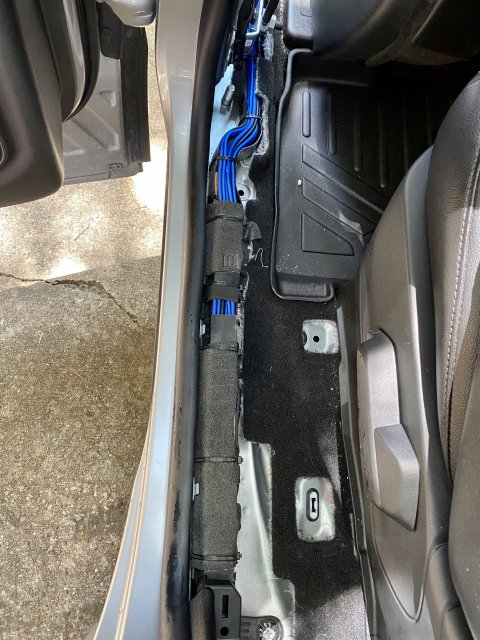
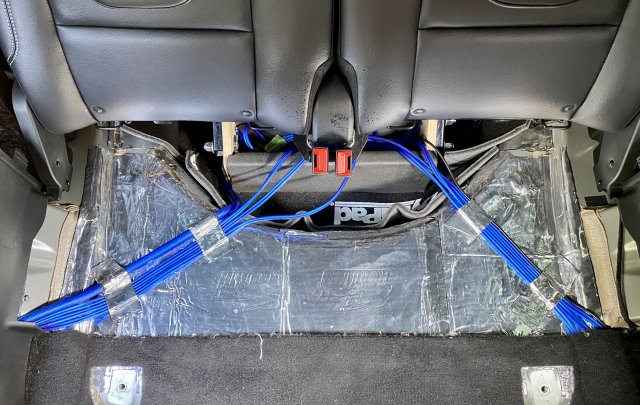
The Amp rack is bolted in, trim panels all covered and fit including the new floor panel. The amps are just sitting in place right now…I’m about to mark the oem trim piece in front of them and drill the holes for the wiring to pass through then that’s it for today. Tomorrow I’ll pull the main 0 gauge power run and pull the speaker wire to both front doors.
The Amp rack is bolted in, trim panels all covered and fit including the new floor panel. The amps are just sitting in place right now…I’m about to mark the oem trim piece in front of them and drill the holes for the wiring to pass through then that’s it for today. Tomorrow I’ll pull the main 0 gauge power run and pull the speaker wire to both front doors.
Last edited:
-
1
- Show All
Today’s progress. Put carpet on the top of the enclosure only just to decouple the trim panels a bit. The magnets still hold them just fine. Got the enclosure bolted in using the oem hole for the Jack and spare but it wasn’t solid enough for my liking so I went through the floor pan with another 1/2” bolt and now it’s not moving. There’s 1/8” CCF on the bottom of the enclosure to decouple from the floor.
View attachment 7484
The Amp rack is bolted in, trim panels all covered and fit including the new floor panel. The amps are just sitting in place right now…I’m about to mark the oem trim piece in front of them and drill the holes for the wiring to pass through then that’s it for today. Tomorrow I’ll pull the main 0 gauge power run and pull the speaker wire to both front doors.
View attachment 7485 View attachment 7486
Sent from my iPhone using Tapatalk Pro
-
1
- Show All
OP
Thread Starter
#34
OP
Thread Starter
#39
Thread Starter
#39
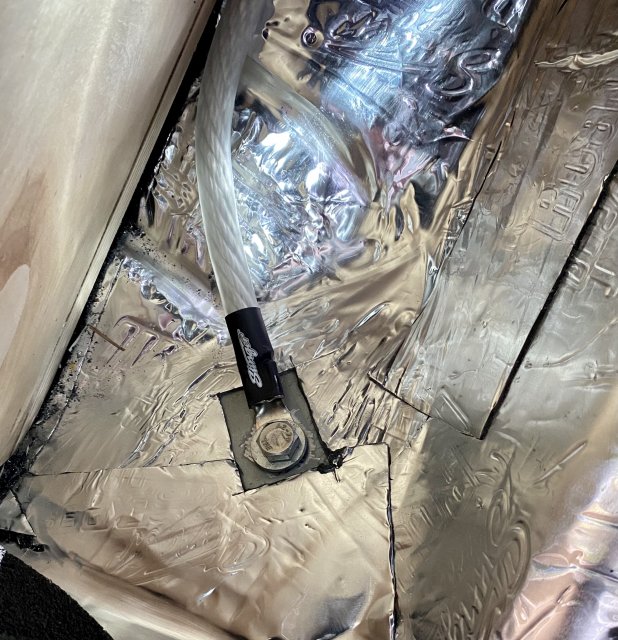
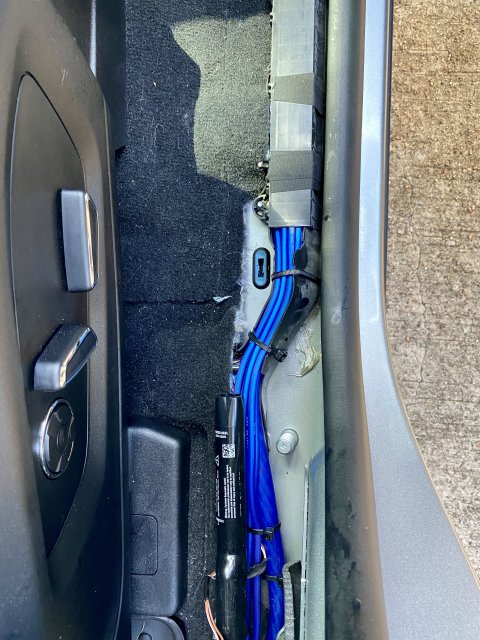
I forgot the ground. It’s a unibody car so I went straight through the floor pan. Ground the paint off on both sides, star washer under the lug and bolted in tight with a 10mm bolt and nylock nut with fender washers on the bottom side and sealed after with silicone.