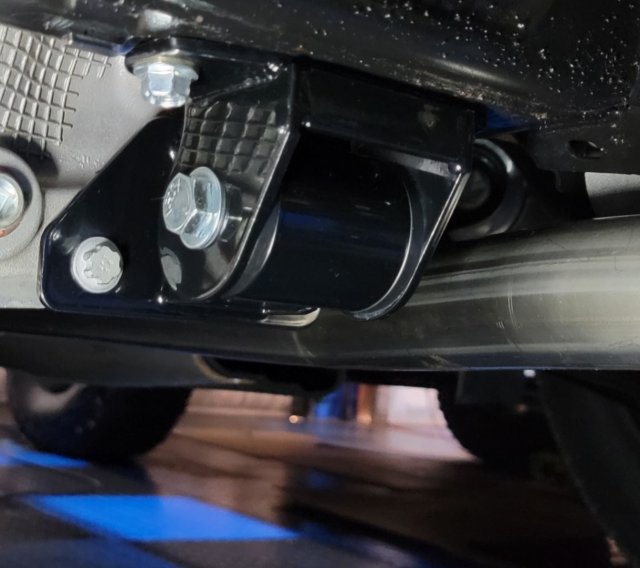
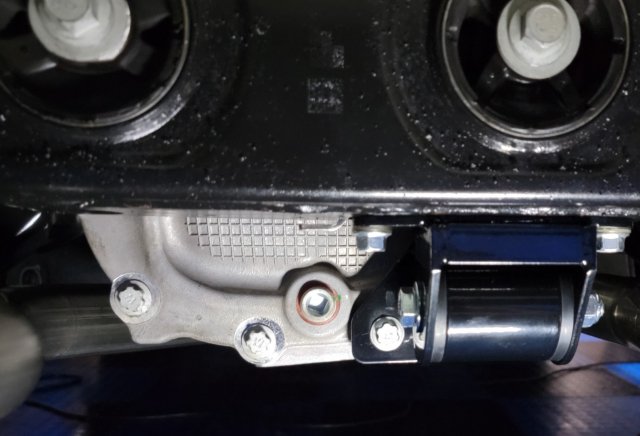
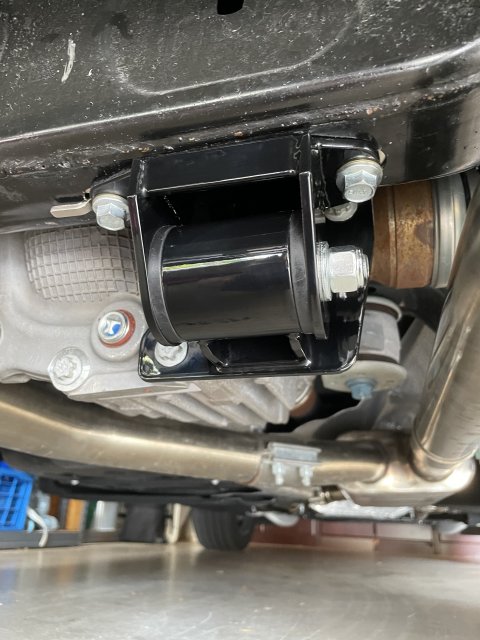
Installed. Couple things that may help. E18 wrench as others suggested. If you have the 4-bolt set up, go in from the passenger's side and slide the base plate over to the driver's side it sets in place the correct way but if you go in from the driver's side the 2nd bolt gets in your way. Watch AWR install video and you will see it pass the opening on the passenger's side; it will make sense when you see it.
I mounted the plate to the differential first. It gives you more room to navigate the 3 o'clock bolt. When installing that 3 o'clock bolt look for a small notch in the subframe. If you line it up right it goes right in, I fought with it and thought no way until I used that notch, popped right in.
The rest is straight forward (sorry no video) but just take your time. Tighten/torque everything down and you're done.
View attachment 12323
View attachment 12324


 sorry I couldn’t resist!