
Luckily I have a full shop with every tool known to man and a lift to work on...I’m too old to roll around on the floor anymore. Drove onto the lift at 7:45 this morning and drove off at noon. The front is standard strut stuff...super easy. Didn’t even need to compress the new spring...just slid it on and tightened the retaining nut. The back I had to study for a few minutes. I’m used to solid axle trucks...this multi-link stuff is new to me. I popped off the sway bar end links and lower shock then pulled the long through bolt on the outside of the LCA. Since I had no plans to ever reuse the oem springs I just cut them in half with a cut off wheel and they fell right out. Getting the new springs in took some prying on the LCA but I broke out the 48” “I’m not asking nice” pry bar and they went in with minimal effort.
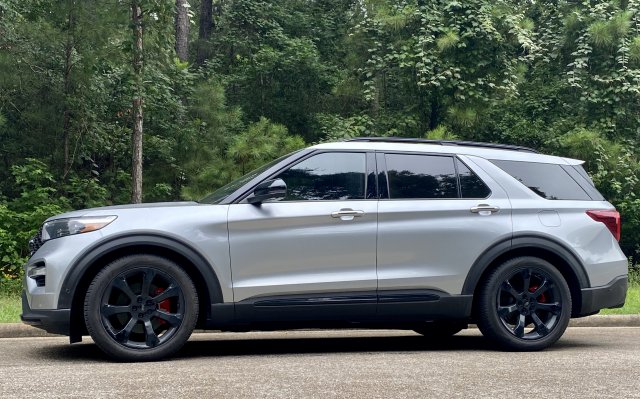
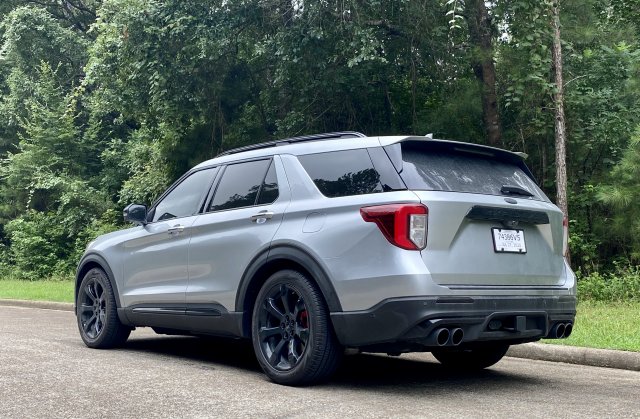
measured drop in front was 1.25” and the rear was 1.5” after a 45 mile drive. H&R says they test every coil to full coil bind and they don’t settle but I’ll measure again in a couple hundred miles just to check. I’d like that missing 1/4” on both ends. lol
Measurements were taken with a full tank both times.
Ride quality is phenomenal. Firmer but not much and it handles even better than before. So far I’m impressed. It definitely looks a lot better and now I really can’t wait to get my new wheels on it.
Something to consider when you drop the rear more than the front is headlight alignment...you’ll more than likely need to drop the lights a bit to correct them.
-
 5
5
- Show All
")