Figured I’d put this all in one place in case people wanna see what’s behind the interior panels.
My audio system gear is evolving...trying to keep cost reasonable but still play in the high end of things. Right now the plan is:
Nav TV Zen A2B interface
Helix DSP Pro with Director controller
Mosconi Pro 1/10, 2/10 and 4/10 amps.
Focal Utopia M midrange and tweeter up front.
illusion Audio Carbon C8 mid bass.
Illusion Audio Carbon C12XL sub
That’s all subject to change depending on my mood at the time.
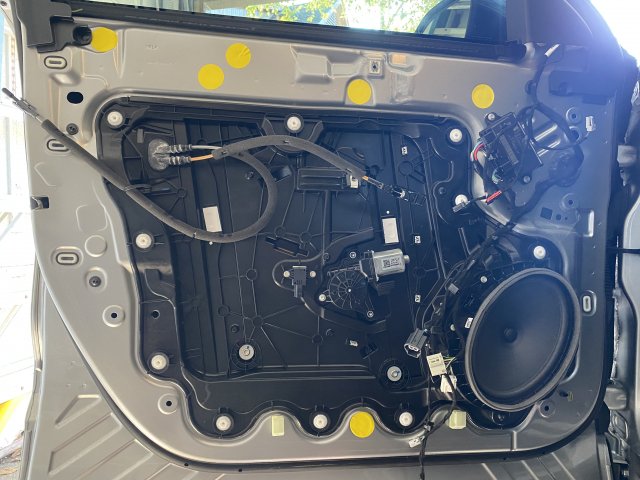
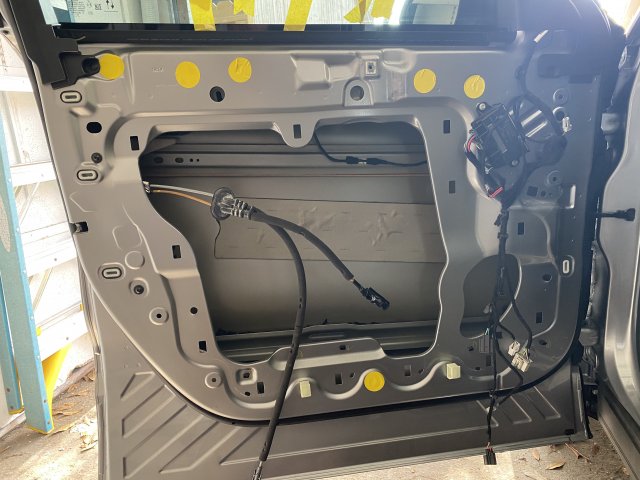
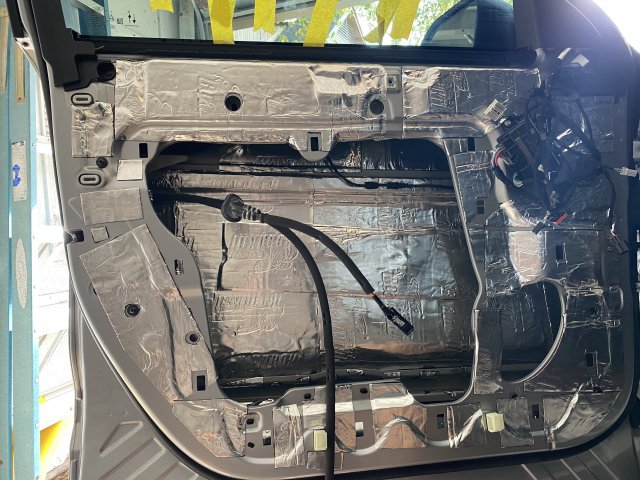
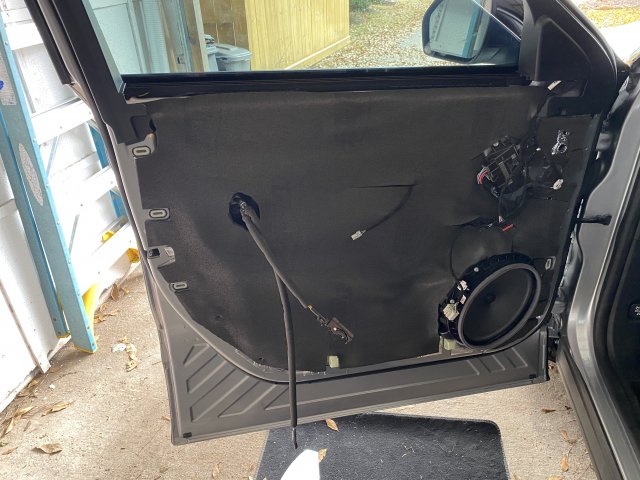
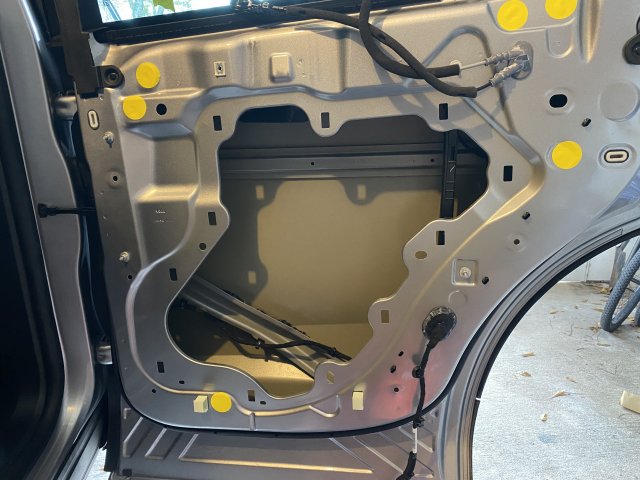
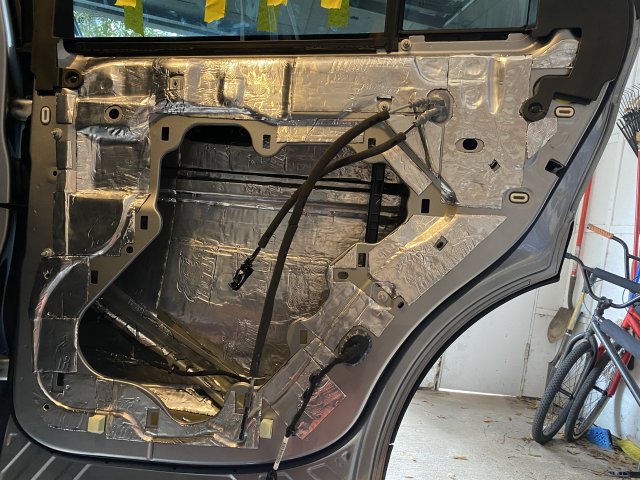
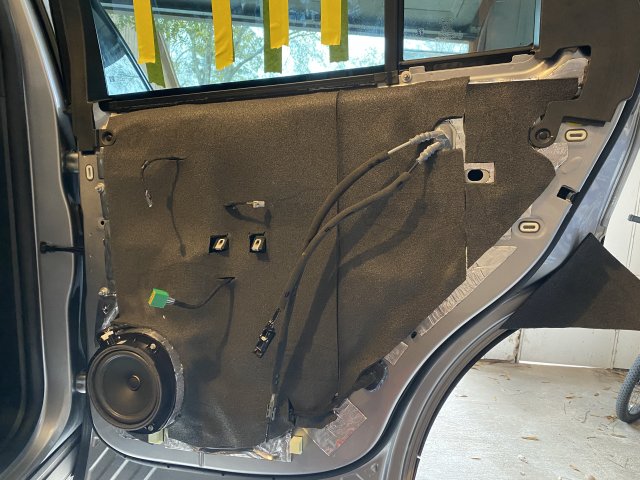
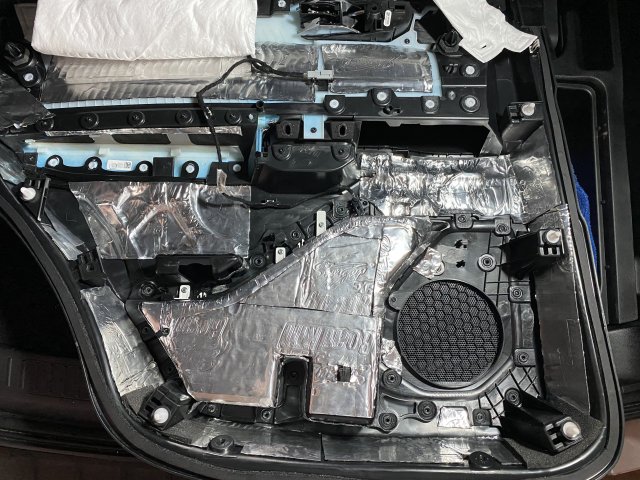
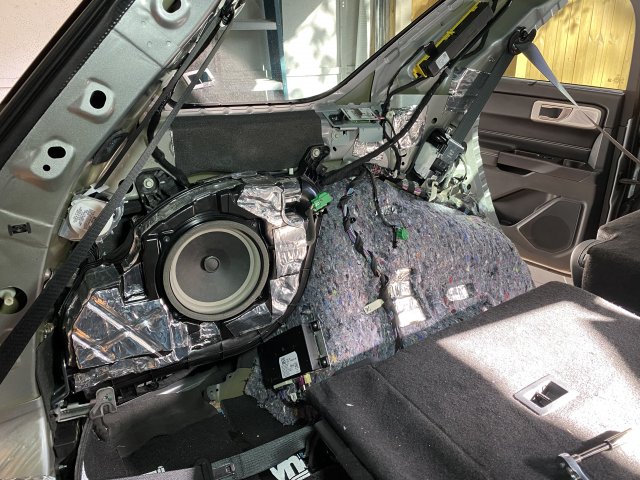
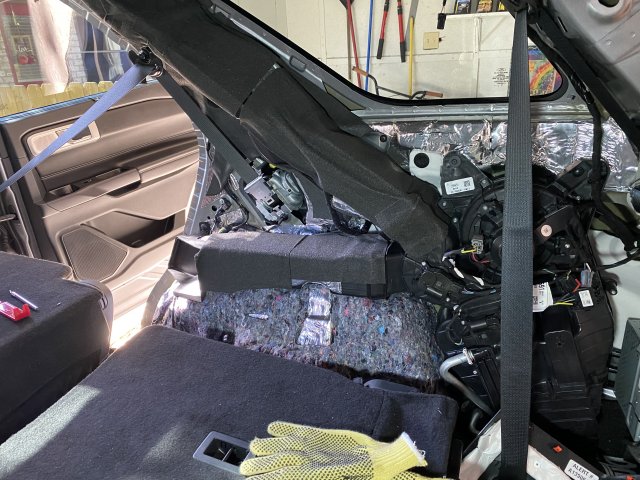
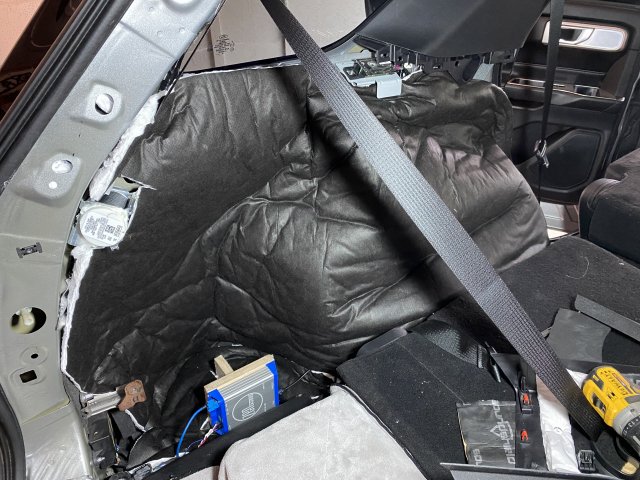
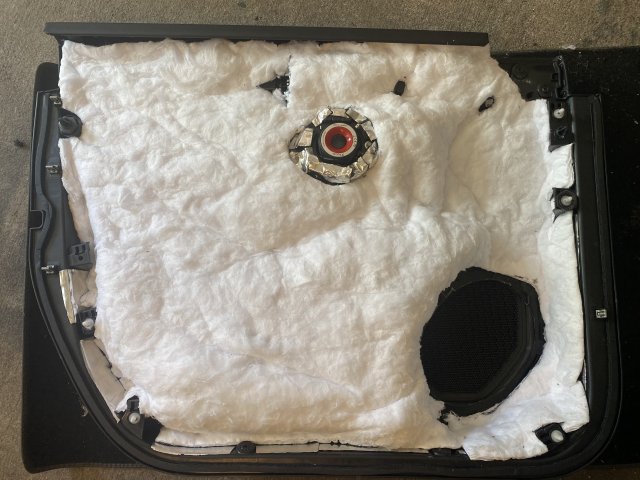
I do all of my own installs so I’ve been working on the sound deadening since it’s so time and labor intensive. I have about 30 hours in it so far and still have to do the floor.
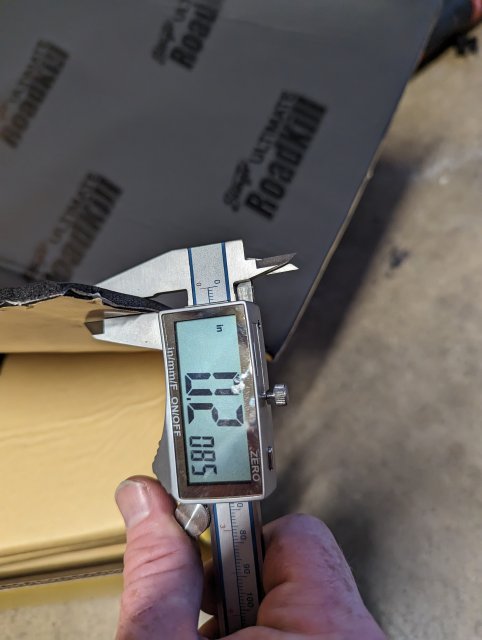
Products used are Stinger Roadkill Expert CLD, Dynamat DynaPad CCF/MLV combo and DynaLiner CCF in various thicknesses. I’ve also used a ton of butyl rope and Tessa tape for decoupling various wires, sunroof drain tubes, door crash bars, etc.
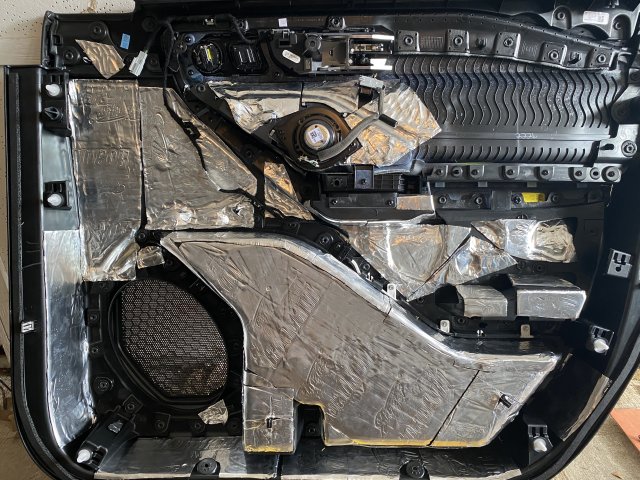
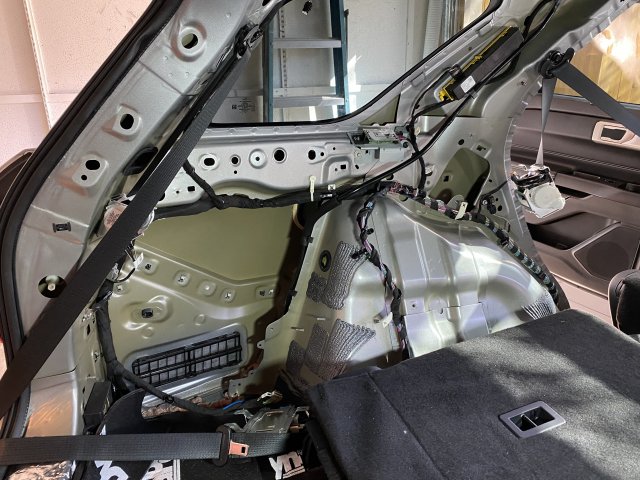
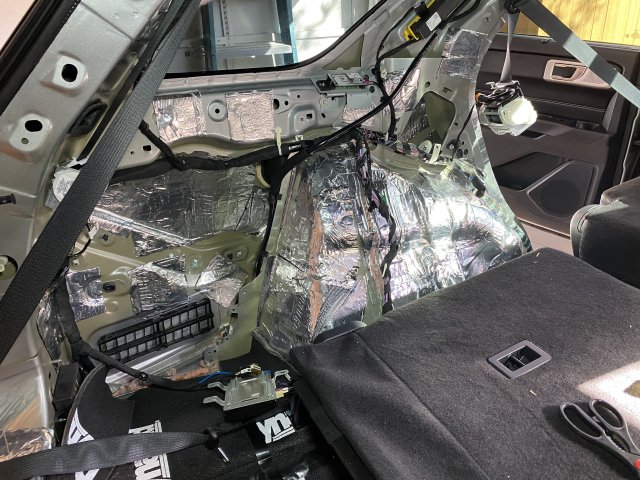
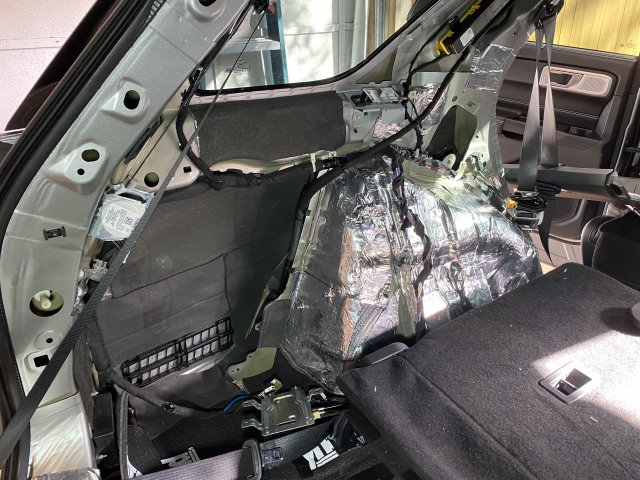
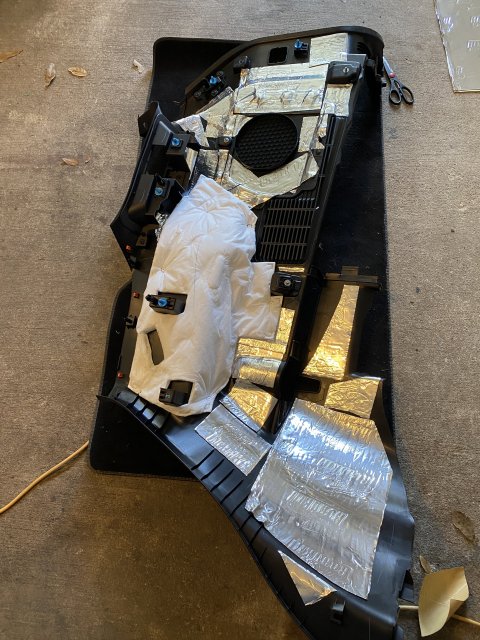
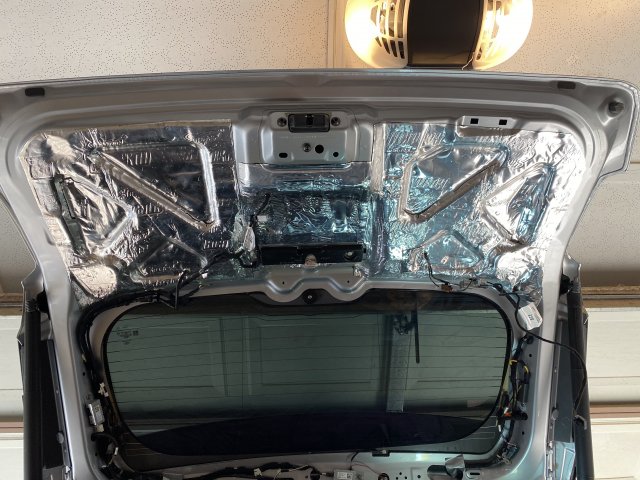
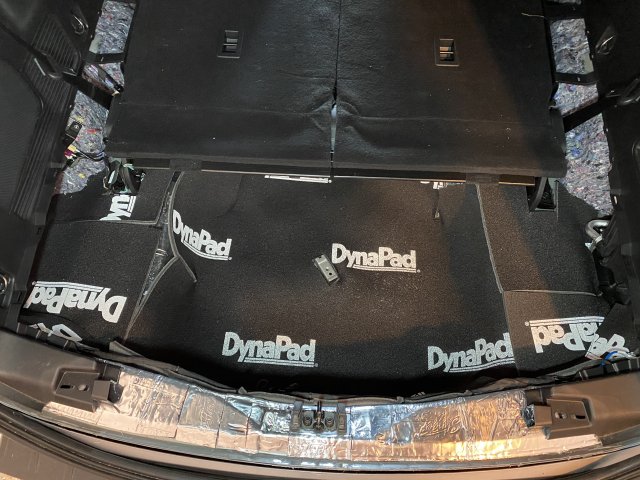
I started with the rear floor and hatch. 100% CLD and CCF/MLV combo to target road and exhaust noise. The laps weren’t taped yet in this pic of the Dynapad.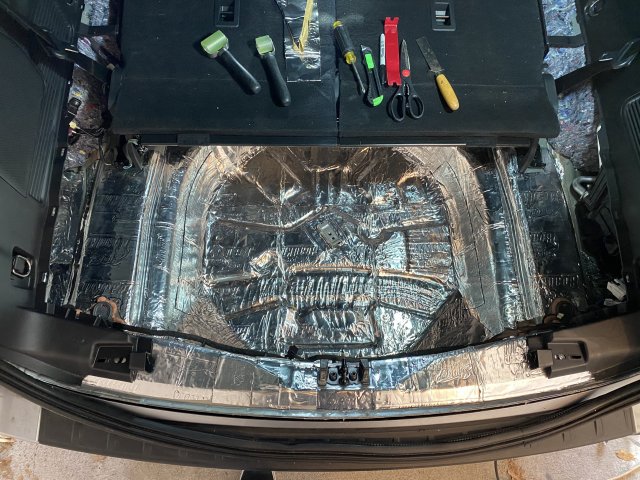
My audio system gear is evolving...trying to keep cost reasonable but still play in the high end of things. Right now the plan is:
Nav TV Zen A2B interface
Helix DSP Pro with Director controller
Mosconi Pro 1/10, 2/10 and 4/10 amps.
Focal Utopia M midrange and tweeter up front.
illusion Audio Carbon C8 mid bass.
Illusion Audio Carbon C12XL sub
That’s all subject to change depending on my mood at the time.
I do all of my own installs so I’ve been working on the sound deadening since it’s so time and labor intensive. I have about 30 hours in it so far and still have to do the floor.
Products used are Stinger Roadkill Expert CLD, Dynamat DynaPad CCF/MLV combo and DynaLiner CCF in various thicknesses. I’ve also used a ton of butyl rope and Tessa tape for decoupling various wires, sunroof drain tubes, door crash bars, etc.
I started with the rear floor and hatch. 100% CLD and CCF/MLV combo to target road and exhaust noise. The laps weren’t taped yet in this pic of the Dynapad.
Last edited:
-
 1
1
- Show All